 Have you ever removed an application or driver only to find out later there are still traces of it on your Mac?
Perhaps you are just curious where files go during an installation?
Fear not! Apple has made it very easy to find out not only what files are being installed, but also where they are being installed.
Once you have the installer opened, there are two features you can utilize. The first is a log of what is happening during the install. The second is a list of what files and where they are being installed. Please note that once you complete the install these windows disappear. And as a word of caution, we always recommend backing up your files before deleting/removing any files
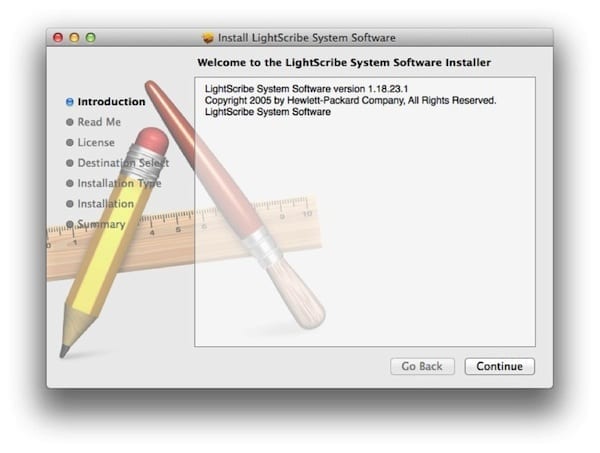
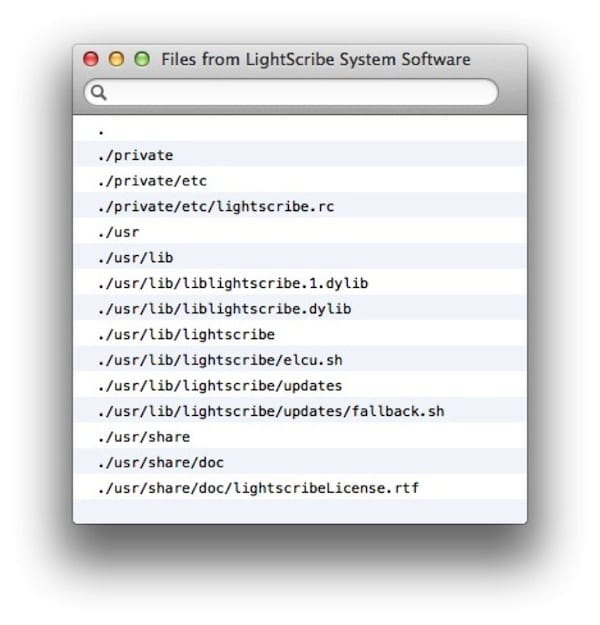
I am using the LightScribe installer as the example below.
 Step 1
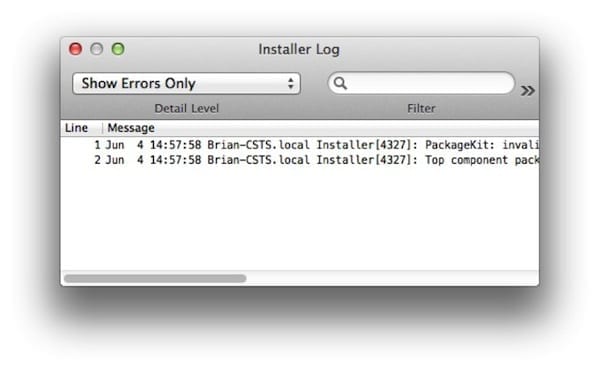
Viewing the installation log. At the installer screen, press both the “Command” and “L” keys. A window should appear with a log of the installation. By default, the drop down is set to “Show Errors Only”. We can also change this to view “Show Errors and Progress” or “Show all Logs”.
 Step 2
Viewing where the files are being installed. At the installer screen please press both the “Command” and “I” keys. A window should appear listing each file and its final destination. (The files we see in the example are all invisible files located at the root of the drive.)
 Step 3
If you are looking to remove any trace of the installed application you will need to delete these files. The only problem now is that these files are hidden by default, so we need to make them visible.
There are many apps that do this for you with the click of a button, but I find terminal just as easy. Open terminal /Applications/Utilities/Terminal.app
Copy and paste the two commands for “Show invisible files”. Enter each sentence separately below into Terminal and hit return after each. To reverse this when you are done replace TRUE with FALSE in the “Hide invisible files” command group below and the files will be hidden again:
Show invisible files:
defaults write com.apple.finder AppleShowAllFiles TRUE
killall Finder
Hide invisible files:
defaults write com.apple.finder AppleShowAllFiles FALSE
killall Finder
At this point you should be able to browse the location of these files in Finder and remove them if you wish.