It’s a fact the files we work with on a day-to-day basis are getting larger. As digital cameras grow more advanced, so do the sizes of the pictures they take. Music is now available in near-pristine, lossless formats and movies are now are in high-definition video with multichannel soundtracks. Then, there are the various applications themselves, many of which can take up multiple gigabytes. All this data takes up space and before you know it, your hard drive is maxed out.
When you find yourself in this predicament , you have three options: clean out some accumulated files, get an external storage solution to move files to and provide more storage capacity, or use our free instructional videos to put a higher capacity drive into your machine.
Cleaning out older files isn’t really a viable option. Eventually, your drive will continue to fill and you’re back to square one.
Transferring older and/or duplicate files to an external drive is often the easiest route to take and we make that option simple with Plug and Play solutions for Macs and PCs. Unfortunately, if you’re highly mobile and using a MacBook or MacBook Pro, carrying around that extra drive and the connection cables (even with a bus-powered pocket-sized drive like the Mercury On-The-Go Pro) adds a few more things to pack and keep your eyes on.
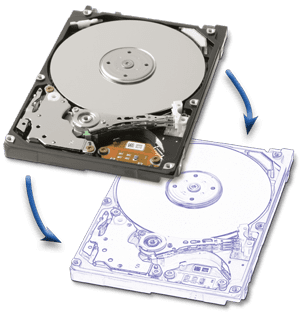
Which brings us to upgrading your Mac’s internal drive. While the thought of “opening the hood” on your machine sounds daunting, it’s actually very straightforward with our instructional videos that walk you through the process.
After upgrading your internal drive, transferring your data over from your “old” drive to a new, faster, larger one is just as easy when using Migration Assistant in conjunction with a fresh install of OS X. To show you how to get it done, OWC Chris has created step-by-step instructions in our Tips & Reviews archives.
And when you’ve got everything up and running with all the data you had from the previous drive, we even make it easy to retask that “old” drive, by either putting it into an external enclosure or using it with one of our Voyager hard drive docks. If you choose the enclosure route, we may even have an installation video to show you how to do that too!
It doesn’t get any easier than OWC for the tips, tools, and products you need to get more from your technology investment.