

How often have you heard the phrase “make sure you have a backup”? In our tips and articles, we tend to dispense that advice often, usually just before providing instructions for performing some task or other that could lead to data loss or has some level of risk associated with it.
So this time, instead of just telling you to have a current backup, we’re going to take you through the process of creating a basic backup system, and then expand it to a more robust and reliable system that can serve your needs for a long time to come.
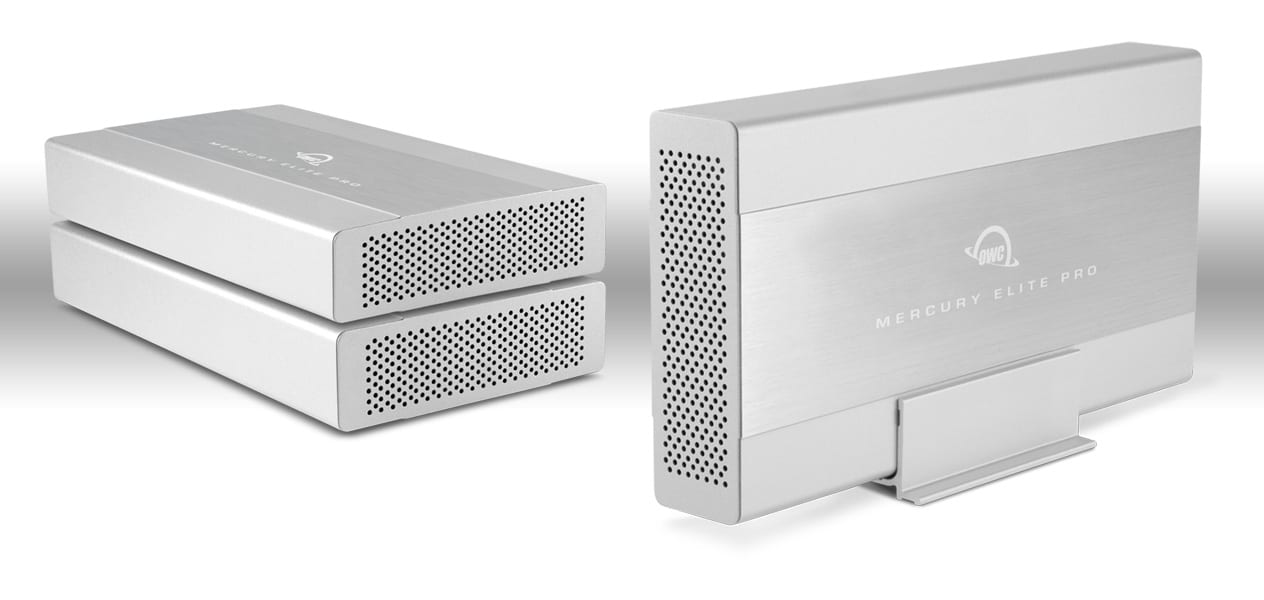
Phase One – Basic Time Machine: We’ll start with a basic Time Machine backup that needs only an external drive you can connect to your Mac. MacSales.com offers a wide variety of external drives, either an empty case that you can use to build your own custom storage system, or external storage devices complete with a drive, just waiting to be plugged into your Mac.
Phase Two – Multi-Drive Time Machine: The second phase will add redundancy and security to a Time Machine-based backup system by making use of Time Machine’s ability to work with multiple drives. A multi-drive Time Machine system allows for a lot of versatility, including the ability to create offsite backups.
Phase Three – Startup Clone: The third and final phase will add a second type of backup: a clone of your startup drive that will allow you to swiftly recover from a disastrous drive failure, and also allow you to quickly restore your Mac’s system and recover any Time Machine backup files you need.
You don’t actually have to move step-by-step through the phases, nor do you have to implement each phase. Selecting any one of the backup methods will go a long way toward securing your data, and selecting any Time Machine plus cloning option will create a very robust and reliable backup system that can serve just about any type of use to which you put your Mac.
Time Machine Backup Drive Size
 With Time Machine, bigger is better; the larger the drive, the more backup data it can store. Time Machine keeps versions of each file that is backed up. The more space that’s available, the more versions can be kept. When Time Machine runs out of space, it removes older versions of files.
Think of it this way: If you have a document you use over and over, making changes, and adding and deleting information over a long period of time, Time Machine will keep multiple versions of the document, allowing you to go back in time to see what it looked like last summer, last year, or yesterday. The more space that’s available on the Time Machine backup, the further back in time you can go to find files you may need.
A good starting point for a Time Machine drive size is twice the amount of space as the size of the data you’re backing up. The data size includes the amount of space used on your startup drive plus the data from any additional drives you wish to back up.
Taking it a step further, if you assume you’ll eventually use most of the space on your startup drive (and chances are, you will), then changing the Time Machine drive to twice the size of the backup drive, plus twice the size of any additional data you wish to back up, should give you a Time Machine drive that will satisfy your needs for a long time.
If you’re a multimedia maven, or you work with very large file sizes on a daily basis, you could potentially need up to five times the drive size because of the size of the files you’re working with each day. The churn rate, or the amount of data that changes or is added each day, affects how much data Time Machine backs up, and how many versions can be maintained. Thus, a larger churn rate equates to the need for a larger backup drive.
Clone Backup Size
Clone size is easier to determine. Since you’re creating a copy of the data on your startup drive, the clone should be the same size as the amount of space your data occupies on the startup drive. A better value to use, though, is to make sure the clone drive is as big as, or bigger than, the total startup drive space.
Phase One: Create a Basic Time Machine Backup
The first phase is to make use of Apple’s own Time Machine backup system. It’s easy to use, it comes with your Mac so there are no apps to buy or install, and because it’s so easy to use, you’re more likely to use it. Even better, once it’s set up, it pretty much takes care of itself.
The Rocket Yard has an in-depth article on the basics of Time Machine, including how to initially set up a drive for use with Time Machine. Instead of our repeating the setup procedure, pop on over and take a look at this article: What Time Machine Is, How It Works, How to Use It With Your Mac
Phase Two: Using Multiple Drives With Time Machine
Time Machine has the ability to use multiple drives as targets for backups. Adding a second drive (or more) adds redundancy, ensuring that if one Time Machine drive should fail, you have a second drive that still contains your backups.
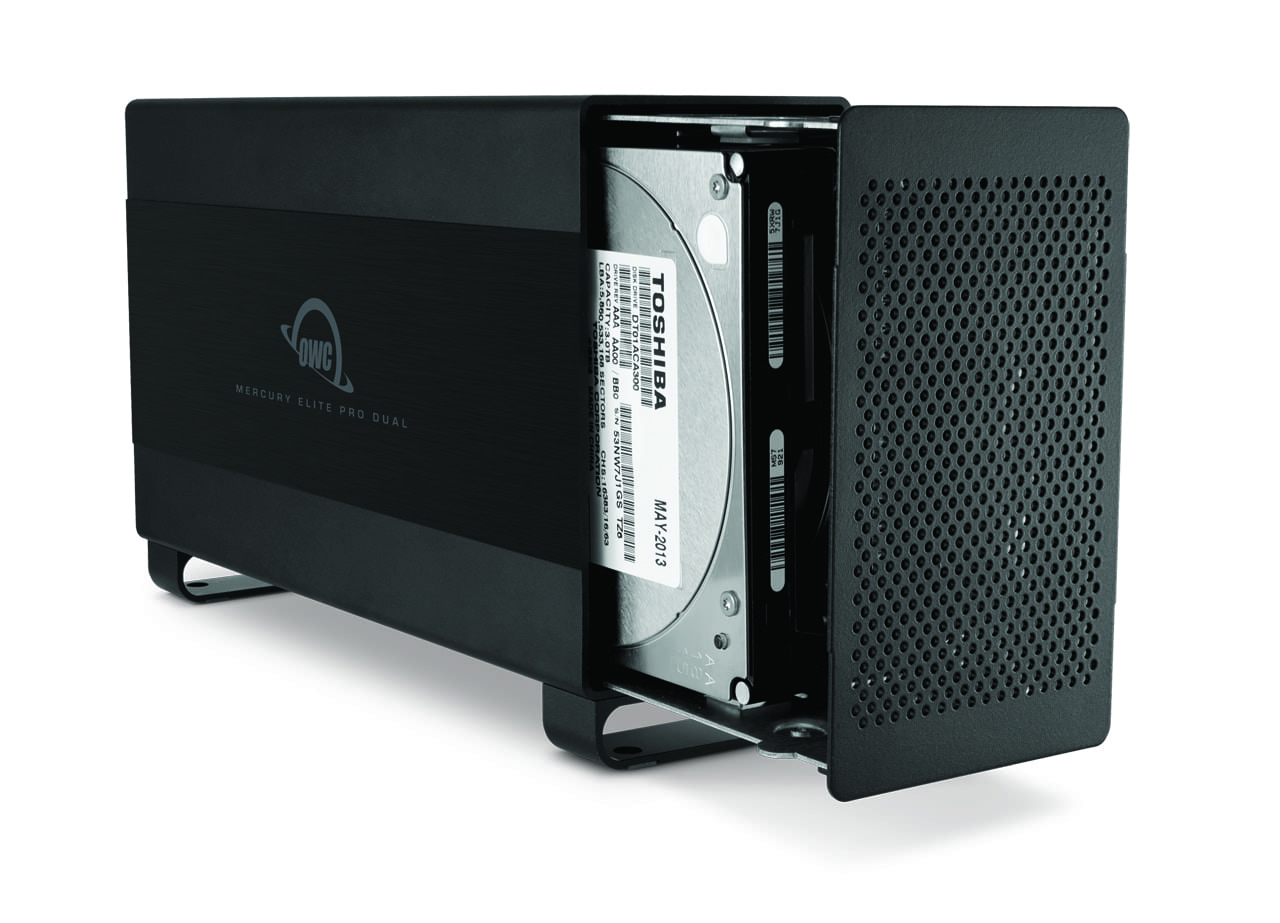
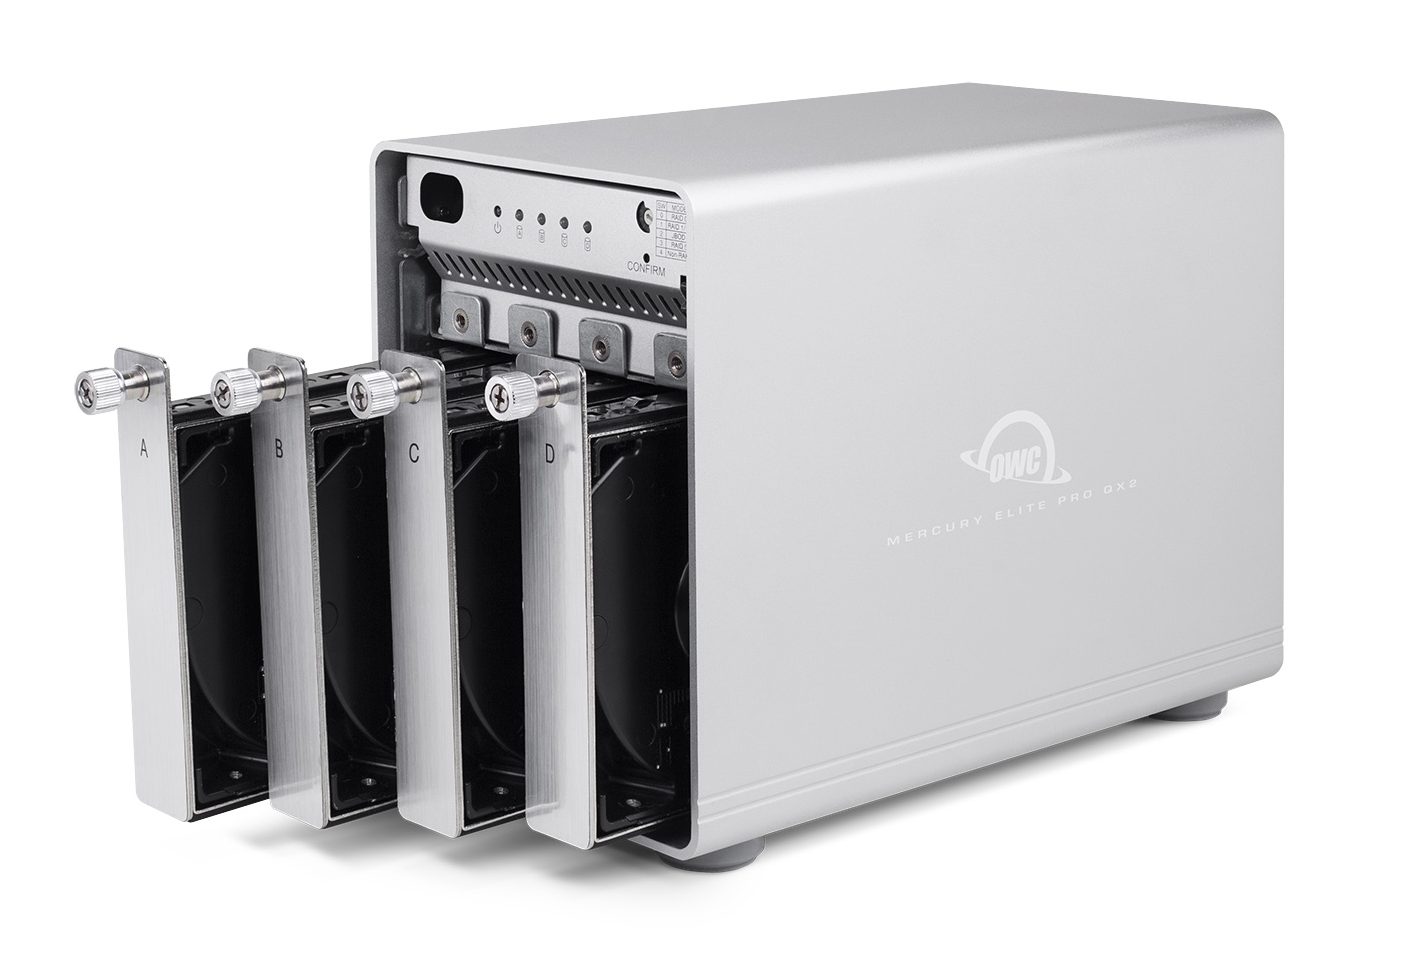
You can use multiple single drive enclosures, or use one of the multi-bay storage systems, to reduce cable clutter and cut back on the number of ports in use on your Mac.Time Machine doesn’t update all the backup drives at once; the drives aren’t mirrored as in a RAID 1 array. Instead, a round robin scheduling system is used; Time Machine updates the drive with the oldest backup. Since Time Machine updates once per hour, each Time Machine drive can be an hour or more behind the most current version.
This may seem like a disadvantage, but it ensures that when Time Machine is writing or removing data from one drive, the other backup drives won’t be affected by any failure that may occur during the backup process.
An additional feature of using multiple Time Machine backup drives is that you can use one of the backups for offsite storage. Time Machine drives can be ejected from your Mac and taken offsite for added data security, and when brought back, can be mounted on your Mac, which will cause Time Machine to update them automatically.
Offsite storage can be a real data saver if your Mac is involved in a fire or theft.
Add a Second Drive
When adding a second Time Machine drive, you don’t need to start from scratch; you can add drives to Time Machine at any time. Make sure any drive you wish to add is fully erased and formatted as a Mac OS Extended (Journaled) drive.

Open System Preferences, and then select the Time Machine preference pane.
Click the Select Disk button.
Time Machine will show a dropdown pane listing any backup disks already assigned for use by Time Machine; it will also show any available disks that can be used. Select the drive you wish to add to Time Machine from the Available Disks list, then click Use Disk.
A dropdown sheet will ask if you wish to stop using the original Time Machine drive and use the newly selected drive instead, or back up to both? Click the Use Both button.
At the next backup interval, or if there is a lull in your Mac usage before the scheduled update, the newly added drive will be updated by Time Machine and added to the round robin schedule.
Phase Three: Bootable Clone for Instant Recovery
The last phase is to add a bootable backup or clone to ensure you can easily restore a backup, as well as get back to work, almost as quickly as you can restart your Mac.
There are various cloning apps available, with perhaps the two most popular being Carbon Copy Cloner and SuperDuper. Both offer the ability to create bootable clones and both have a scheduling system that you can use to automate the cloning process. Scheduling ensures that your clones remain current, which in turn ensures that if you ever need to use the clone to boot from, you’re booting into a relatively recent copy of your Mac’s startup drive.
The Rocket Yard has covered the use of cloning apps as part of a backup strategy, so check out: Bootable Backups: A Key Part of Your Complete Backup Plan
Keep On Backing Up
Now that you’ve built your own robust backup system, the next step is to keep it up to date. Time Machine will run automatically, and both of the cloning apps we mentioned have scheduling systems. Be sure to use the scheduling options, along with the cloning app’s ability to update clones instead of creating new clones. It will cut down on the cloning time significantly.


Great article. Thanks. Just wondering though, if my main drive crashes at say 10 AM and I am taking daily clones at midnight can I restore from the clone, then use Time Machine to restore the changes from midnight to 10 AM? How would I do that?