


Since iPadOS 13 arrived last month, I’ve been spending a lot of time being pleasantly surprised with some of the new or updated tools in the operating system. Perhaps one of the most useful updates is the improvement in the Markup tool, used to add annotations, titles, or handwritten notes to a variety of documents. In this short tutorial I’ll demonstrate how to use these tools with two of the most popular iPad apps — Safari and Photos.
Safari
I find that marking up Safari web pages is useful in many ways — adding personal commentary to a page before sending a copy to a friend, pointing out features of a website to a web design client, and so on. The Markup tool has been fine-tuned for Safari, making it a fast and simple way to grab and annotate web pages.
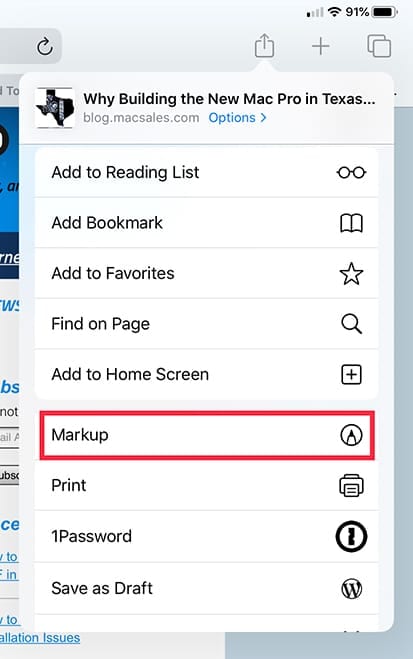
With your target website loaded in Safari, tap the Share button — it’s the one in the upper right side of the iPad screen that looks like a square with an arrow pointing up from it (circled in red in the screenshot below).

Once tapped, a menu appears. Scroll down until you see the word “Markup”, then tap it (see screenshot below).
Doing this causes two things to occur. First, the web page (or a part of it) is converted to a PDF file. Second, and the point of this article, is that a pill-shaped Markup tool appears on the screen. It can be dragged anywhere you want, so if it is covering a part of the website that you wish to annotate, just tap and drag. (Off topic: I have decided to nickname the Markup tool “The Hot Dog” since it is shaped like America’s favorite cooked sausage served in a sliced bun). You can see the tool in the following screenshot.

What are all of these tools? From left to right we have:
- Undo and redo arrows
- A felt tip pen with
adjustable line width - A highlighter with transparent “ink” and an adjustable line width
- A pencil with
adjustable line width - An eraser. It won’t erase parts of the image, just mistakes you’ve made during annotation. Any object you touch with the eraser disappears.
- A “lasso pencil”. Use this to draw around shapes you wish to move
- A ruler/protractor, primarily used to draw straight lines at any angle you desire. The ruler can be rotated using two fingers – once it is at the angle you desire, placing any one of the “pens” against the ruler makes drawing a straight line simple.
- A color palette. The standard colors are gray, blue, red, yellow and blue, but the multi-color “dot” provides a way to choose from 120 different colors
- The + Sign, which displays the following when tapped:
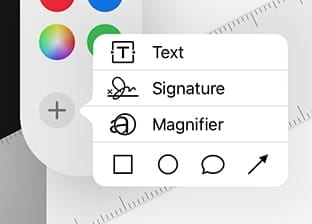
When tapped, the Text tool is used to type in annotations. While typing the text into the movable text edit field that appears, the pencils, pens, highlighters, and rulers disappear, replaced by a text button that looks like a pair of “A”’s. Tap that button to change the typeface, font size, and justification, or tap one of the color buttons to change the color of the text.
Signature displays a list of scanned signatures that have been entered. Tap any one of them to paste the signature onto your document, then tap and drag to move the signature. Pulling one of the “handles” with a tap and drag on the signature resizes it as necessary. A new signature can be added by tapping “Add or Remove Signature”, then using a finger or Apple Pencil to write the signature.
Magnifier is a fun tool — it adds a resizable circular “magnifying glass” to your image. Move the blue dot to increase the diameter of the magnifier, or slide the green dot along the circumference of the magnifier to increase or decrease the magnification.
The tools at the bottom of this provide a way to add rectangles, ovals, text balloons, and lines or arrows. When any of these tools are used, a short sample is added to the image. Pulling on the handles (blue or green) changes the size or length of the object, or can turn a straight line or arrow into a curved one. Remember the “text button” described earlier? It turns into a button that can change a hollow rectangle, oval or text balloon into one that is filled with color, or change the width of the lines.
The “More” or “…” button only has one function at this time: it allows the “hot dog” to be auto-minimized into a small circular button like you see at the top of this post. The current Markup tool being used is shown in the round button.
When you have completed your annotations to a web page, tap “Done” in the upper left corner of the Markup screen to view two choices: “Save File To”, which allows you to change the name of the file, then save it to your iPad or any cloud service you’re signed into, and “Delete PDF”, which indeed deletes the PDF.
Photos
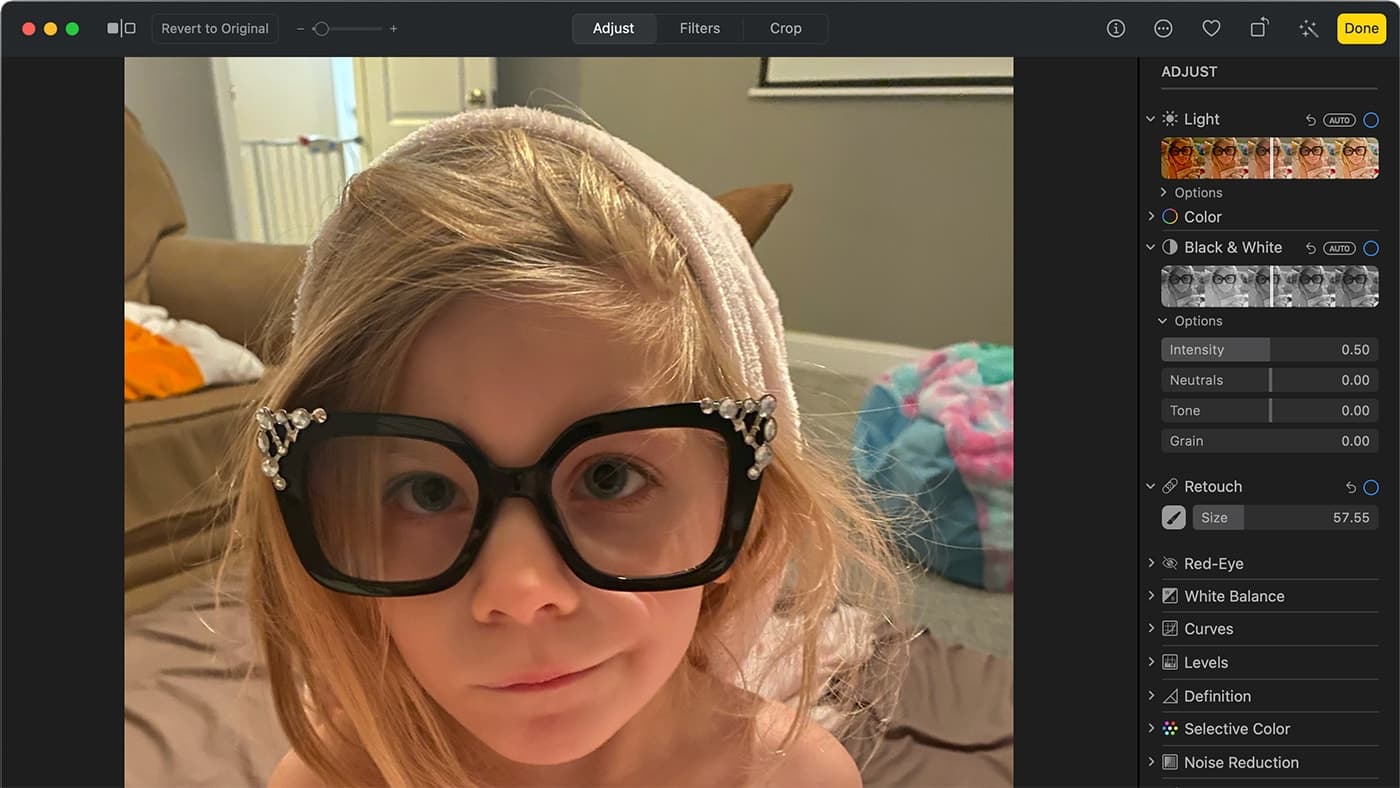
Markup works well in the iPad Photos app, too. Want to add a humorous title to a photo, or point out something that’s in a picture you’ve taken? With just a few taps you can add all sorts of annotations to your photos.
I recommend that you make a duplicate of any photo you want to mark up, since if you go a little crazy you might end up ruining a perfectly good image. To do that, just tap on the photo in your Photos library, tap the Share button, and select Duplicate from the list of available actions.
Now open your duplicated image in Photos, tap Edit, and then tap the More (…) button. One of your choices will be Markup, which brings up the now familiar Markup tool.
The tools are the same in Photos as they were in Safari. Feel free to add titles, arrows, even the occasional magnifying glass. When you’ve completed your work of art, tap on Done to save the image back into your Photos library. That picture is saved in whatever the original format was — usually JPG or the newer HEIC format.
Other Apps
Now that you know the basics, try other iPadOS apps to see if they support Markup. Any app in which you may work with images or PDF files is a prime candidate, so you may find that your favorite app is already Markup-capable.


Thanks for this post, I’ve been looking through apps that cost $30+ per month to accomplish what is built in to my iPad! Thanks for the helpful tutorial.
With apple pencil, can you disable finger painting? It is slightly annoying when instead of scrolling down you draw a line with your finger if you don’t use two..