

You may have a printer with a built-in scanner, or perhaps even a dedicated scanner. But if you don’t — and you have an iPhone or iPad running the latest operating system versions — your Apple mobile devices can step in as a perfectly capable document scanner. We’ll show you how!
Why Would I Want To Scan Documents?
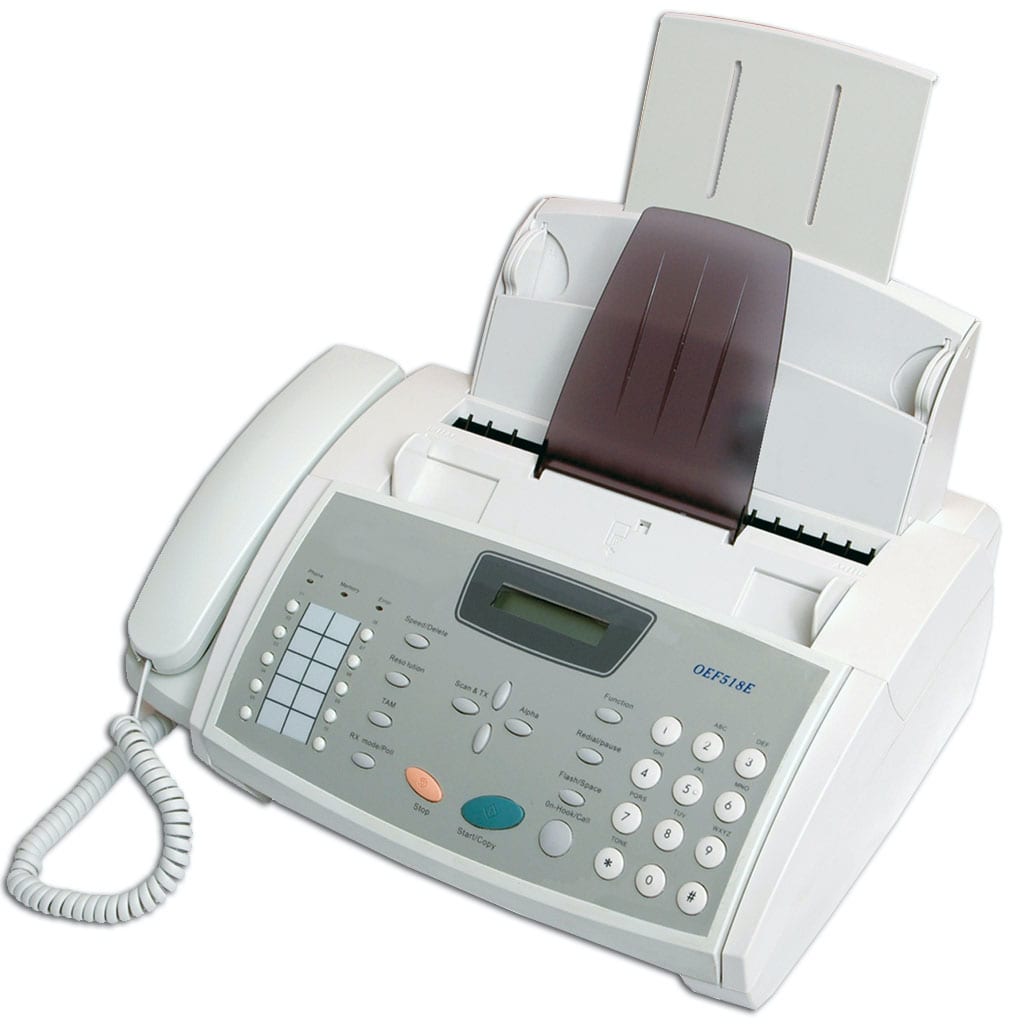
Remember fax machines? Many people and businesses used to dedicate separate phone lines to the job of sending and receiving faxes. If you’re paying for a second landline just for faxing, it’s time to give that up unless you have a huge number of faxes to transmit.
All you’d need to do now is use your iPhone or iPad as a scanner, save the document as a PDF to iCloud Drive or other cloud storage folder for posterity, and then email the document to your recipient.
Even if you’re not sending documents to others, scanning bills, contracts, legal forms, and even personal correspondence cuts down drastically on the amount of paper you have to store. My wife and I used to fill two or three large document folders each year with that paperwork, which was then moved to shelves in our basement. Now we simply scan the paperwork, store it online, and then shred the originals.
Scanning With iOS 13 and iPadOS 13
Particularly if you’re planning to archive documents online, you’ll want to start by creating a folder or set of folders where you can store those documents. To do this:
1 – Launch the Files app. All of your storage services including iCloud Drive, Dropbox, and others you may have set up appear in the left sidebar of the app window.
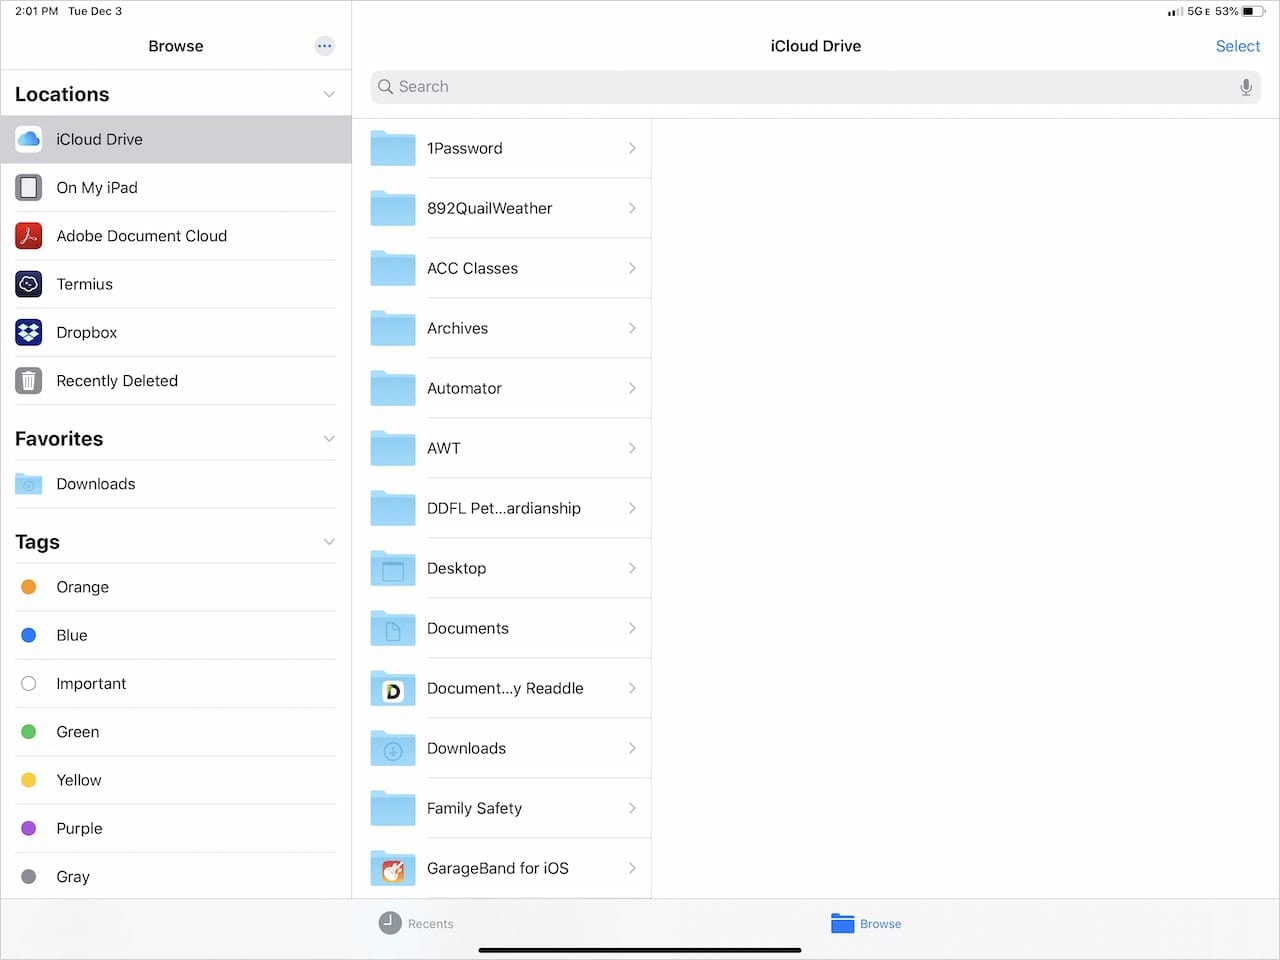
2 – Select the service you wish to use by tapping on it. For example, if you want to create a “Scans” folder in iCloud Drive, tap on the iCloud Drive icon. If you already have folders in your iCloud Drive, they’re listed on the right side of the Files app.
3 – There’s a “hidden” button for creating a new folder. To find it, simply swipe down on the right side of the Files window. The button appears to the upper left of the list of folders and files. Tap that button, and a folder icon with the words “Untitled Folder” next to it appears (see screenshot below). Just type in a new name like “Scans” or “Scan Folder”, then press Return on your virtual or real keyboard to save the new folder. Note that this also works for Dropbox and most other cloud services.

Now you have a place to store your scanned documents. I find that it’s also useful to create subfolders within the main scan folder for different categories. For our personal scans, I use folders for Charities, Taxes, Medical, Dental, Vision, Insurance, Cars, Travel, House, and other categories.
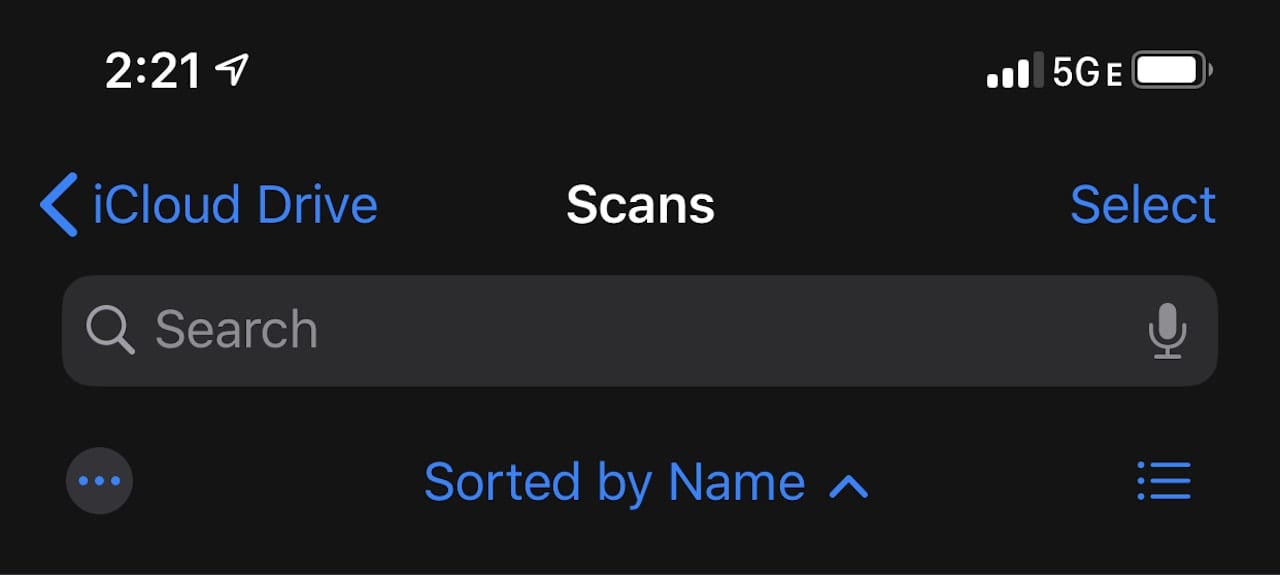
4 – Now let’s scan! In the Files app, make sure you’re in the proper cloud service window (iCloud, Dropbox, etc…), then open the scan folder you wish to save the document into. On an iPhone or iPod touch running iOS 13, swipe down on the screen and an ellipsis button appears (…) as seen in the screenshot below. On iPads running iPadOS 13, look above the word “Browse” in the left sidebar to see that ellipsis button.
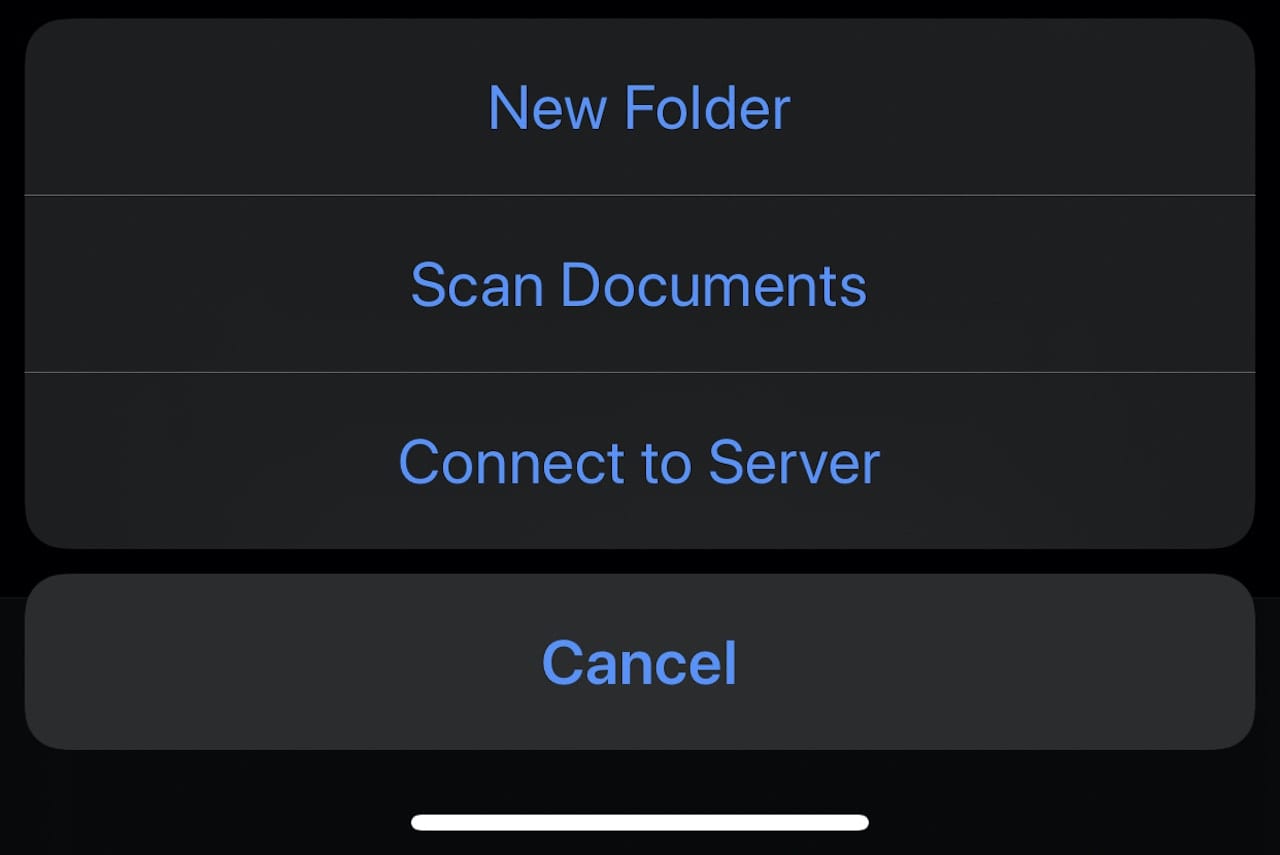
5 – Tap the ellipsis button, and a menu appears showing “New Folder” (useful if you want to create subfolders), Scan Documents, Connect to Server, and Cancel (iPhone screenshot below). On the iPad, that menu shows Scan Documents, Connect to Server, and Edit.
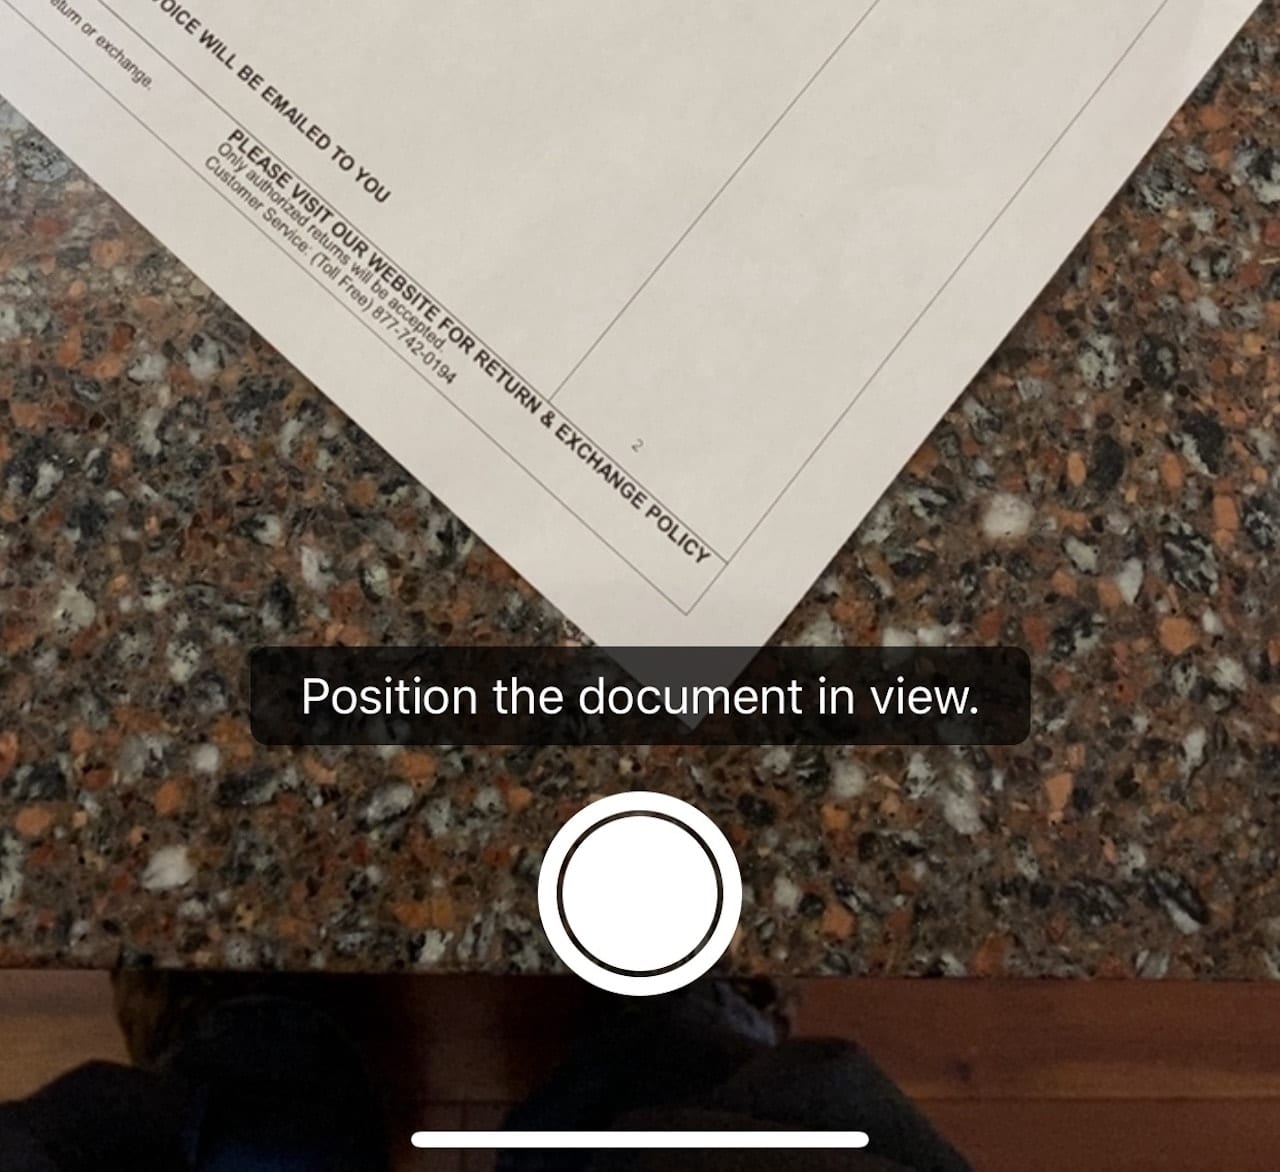
6 – Tap “Scan Documents.” This launches the camera on your device, with the phrase “Position the document in view”. Try to align the document with the camera — if it’s a regular 8-1/2” x 11” document in portrait orientation, make sure the iPhone or iPad is being held in portrait mode (vertically). Documents that are wider than they are tall should be scanned in landscape orientation (horizontal).
7 – When the camera senses the document on a surface that is a different color or texture, it highlights it in a light blue box, then automatically snaps a photo of the document. Tap “Save” to save the document into the folder of choice as a PDF.
Scanning works best if there is a lot of contrast between your document and the background it is sitting on. For instance, try to place a white document on a dark background so that the scanning algorithm has no problem discerning what is document and what is background.
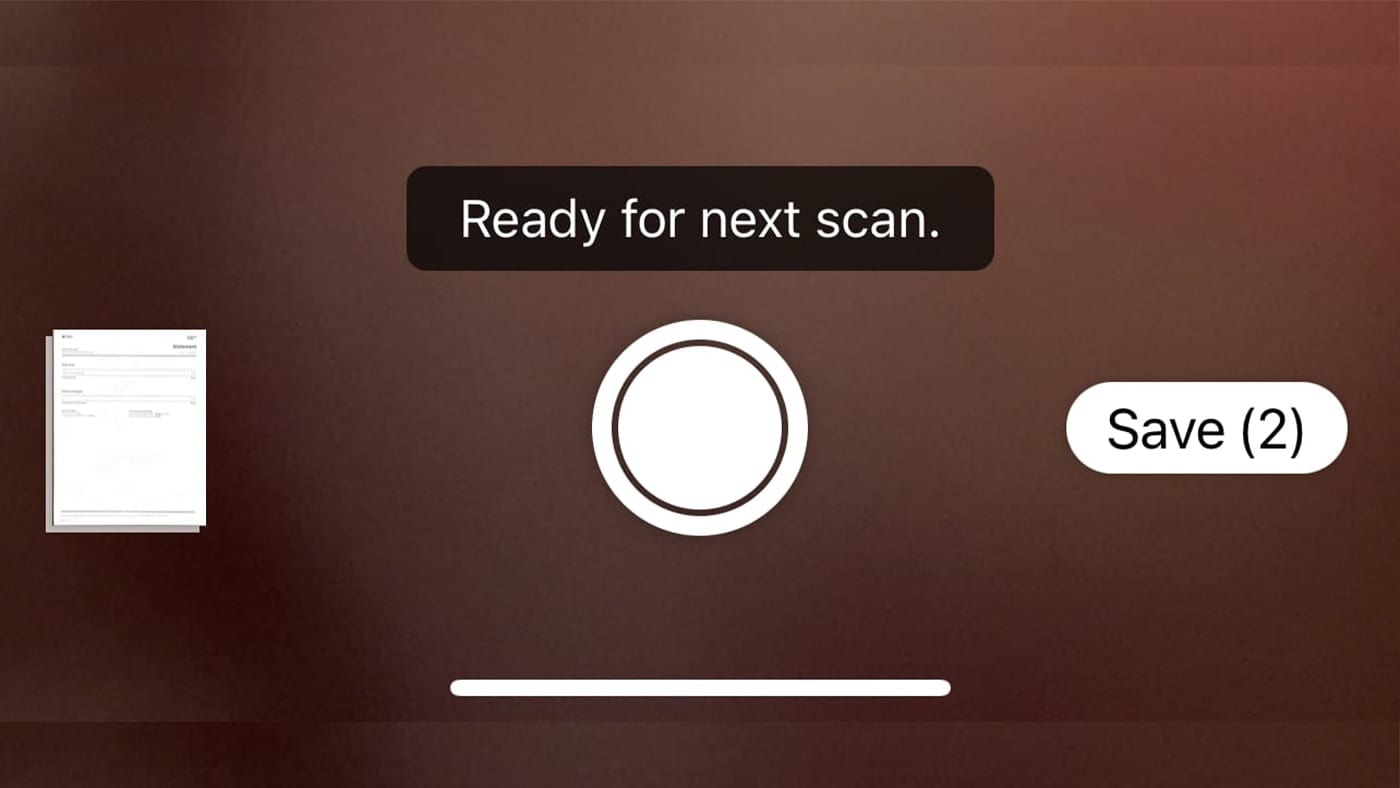
What if your document has more than one page? Easy. Once you’ve scanned the first page, pull it out of the field of view of the camera, then place the second page down. You’ll notice that the words “Position the document in view” have changed to “Ready for next scan” (see image below). The next page is automatically scanned, and then the “Save” button changes to “Save (2)”. Continue for as many pages as you need to, then tap the “Save” button so save all of the scanned pages to your folder.

You may notice that the blue highlighting around the document to be scanned is flickering or that the camera doesn’t automatically “shoot” the picture. In that case, tap the “Manual” button at the top of the scanning screen and get the best possible alignment, then press the shutter button to take the image.
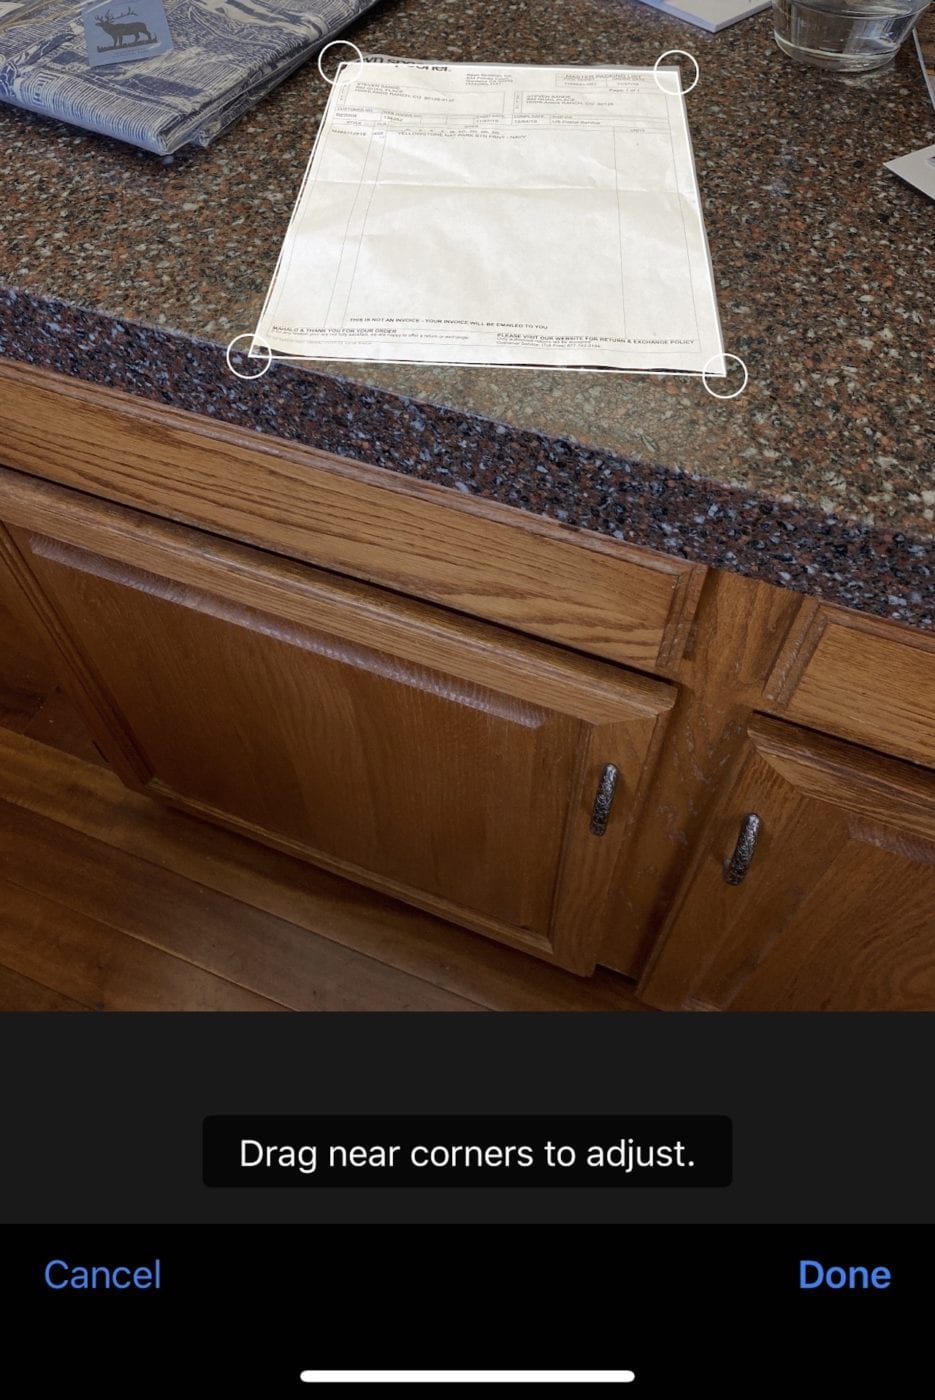
If your document is being scanned from an angle, it may appear distorted when you view it. In a case like this, tap on the image thumbnail before you save the document. A set of editing tools appears that will be familiar to anyone who has edited their photos before. (See image below for an idea of what this looks like on an iPhone).

Tap the cropping tool at left, and you see what your image looked like before the camera cropped out the area that was not part of the document. You may need to drag the handles (circles at the corners of the document in the image below) to more accurately align the image, then tap the Done button to see what the final scanned image looks like.
This set of tools also gives you a way to change the color of the scan — for example, you might have a scan that looks discolored because of lighting, so with a touch, you can change it to grayscale or black and white. Another tool rotates the images by 90° counterclockwise with each tap, and there’s always a handy trash can for discarding a scan that isn’t worth saving.
You can prepare for the upcoming tax season by creating an iCloud folder for scans, finding all of those year-end tax documents, receipts, and letters, then using this handy method to digitize your information. The beginning of a new year is also a perfect time to consider going “paperless” by committing to scanning all paper documents upon receiving them — you’ll be surprised how much clutter that practice can clean up!


Scannable for evernote goes right to the folder I want. Really takes a nice scan.
You can name it then save it.
Step 4 does not exist on my iPadOS 13.3. There is NO scan option. All I can do is create a new subfolder.
Does it fix skew so the letters are straight & easy to read? does it OCR so you actually get a text document? Otherwise “scan’ is merely another word for “useless photograph.”
I couldn’t find the elipses button you were referring to so I could not scan. Version 13.3 iPad
Please clarify how to do this.
Apps like TurboScan are significantly more refined & powerful. I’ve been using TurboScan on my iPhone as a scanner for years with all results saved as PDF’s in iCloud. My professional Billings depend on it being reliable.
What you describe as an alternative is more complex with fewer options.
(BTW: I have no affiliation with TurboScan except as a happy longtime user.)
Really? Go through all that when scanning is so simple.