


My recent experience with water damage to my new 16-inch MacBook Pro reinforced two practices that I’ve followed for many years; making a bootable backup and creating a bootable macOS install drive. While I was able to reload my MacBook from the bootable backup drive, I know that it’s always good practice to have one drive — a cheap flash or hard drive — that can be booted for one purpose, that of doing a clean install of macOS. Diskmaker X has been my tool of choice for making bootable install drives for years, and in this article
You can always use the Mac Terminal app to create a bootable installation disk, but DiskMaker X automates the process. The app is free, but a donation is suggested. With a blank external hard disk or flash drive at your fingertips, follow these instructions.
Download DiskMaker X 9
Click the DiskMaker X link in the first paragraph of this article and download a copy of DiskMaker X 9 to your Mac. Note that the developers of the app also have DiskMaker X versions available back to Mac OS X 10.7 “Lion”, which is helpful if you wish to load older Macs with their original operating system versions. You can also create a single drive with installers for every Mac operating system back to Lion!
Install DiskMaker X 9
To install DiskMaker X 9, locate the installer disk image (.dmg) file. By default, it should be in the Downloads folder. Once you’ve located the installer, double click it to mount the disk image. A window similar to the one seen below appears:
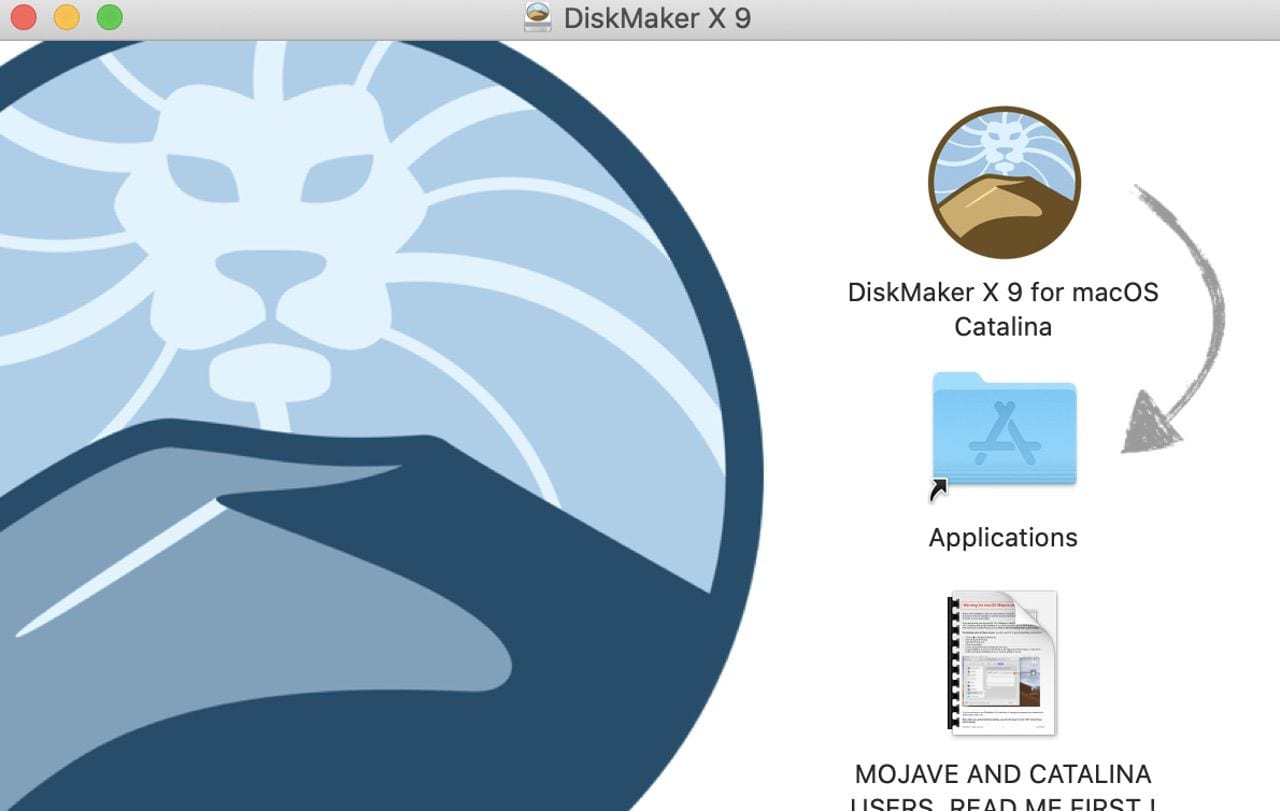
Install DiskMaker X 9 on your Mac by dragging the app icon to the Applications folder alias as shown by the gray arrow on the installer window. Before you launch DiskMaker X 9, you need to download the macOS Catalina installer.
Download the macOS Catalina Installer
Have you already upgraded your Mac to Catalina? If you have, the installer probably isn’t in your Applicaitons folder. No problem! It’s available on the Mac App Store.
If you have already installed Catalina, clicking the “Get” button in the Mac App Store will launch System Preferences > Software Update, and the following dialog appears:
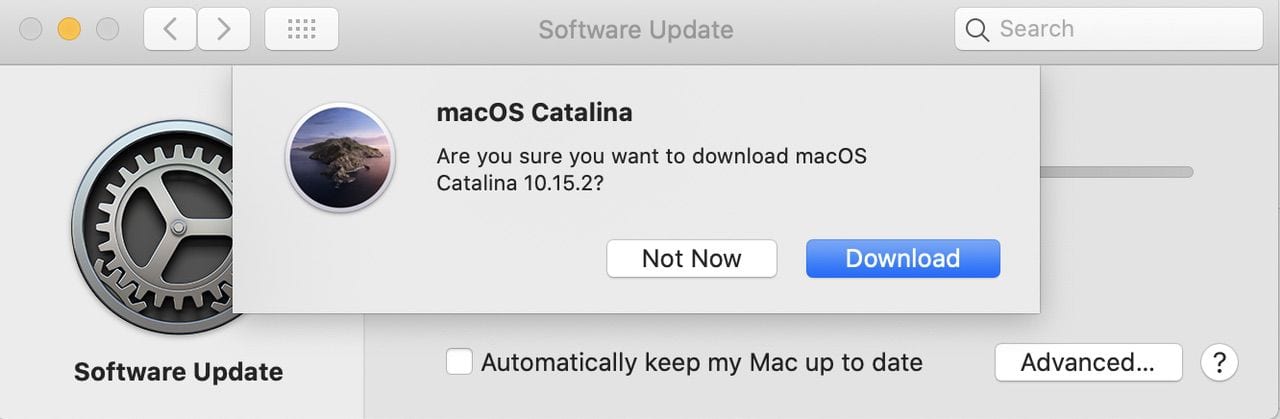
Whether you’re running an earlier version of macOS or the latest, click the Download button to place the Catalina installer into the Applications folder of your Mac.
Have Your Drive Available
Earlier I mentioned that you need a drive of some sort. A USB Flash Drive is usable, although slow, as long as it has at least 8GB of capacity. OWC’s 16.0GB Performance Flash Drive is perfect for creating a bootable installation drive, and it’s very inexpensive.
For speedier installations, an inexpensive USB 3.0 drive like the 1TB OWC Express USB 3.0 is perfect, or if you want the fastest possible installation for a group of Macs, the 240GB SSD OWC Envoy Pro EX with Thunderbolt 3 is an inexpensive option.
DiskMaker X erases everything on the drive when you create the bootable macOS Catalina installation drive, so if you’re planning to use the same drive for other utilities or troubleshooting tools, or perhaps use it as a backup drive, do that after you’ve created the bootable installation drive.
Give DiskMaker X Authorization
macOS 10.15 Catalina uses a Privacy Control mechanism that causes multiple alerts to appear on your screen during the creation of the boot drive, so it’s necessary to give Accessibility authorization to “control your computer”. To do so:
- Launch System Preferences from the Dock, the Applications folder, or from Apple () menu > System Preferences
- Click Security and Privacy
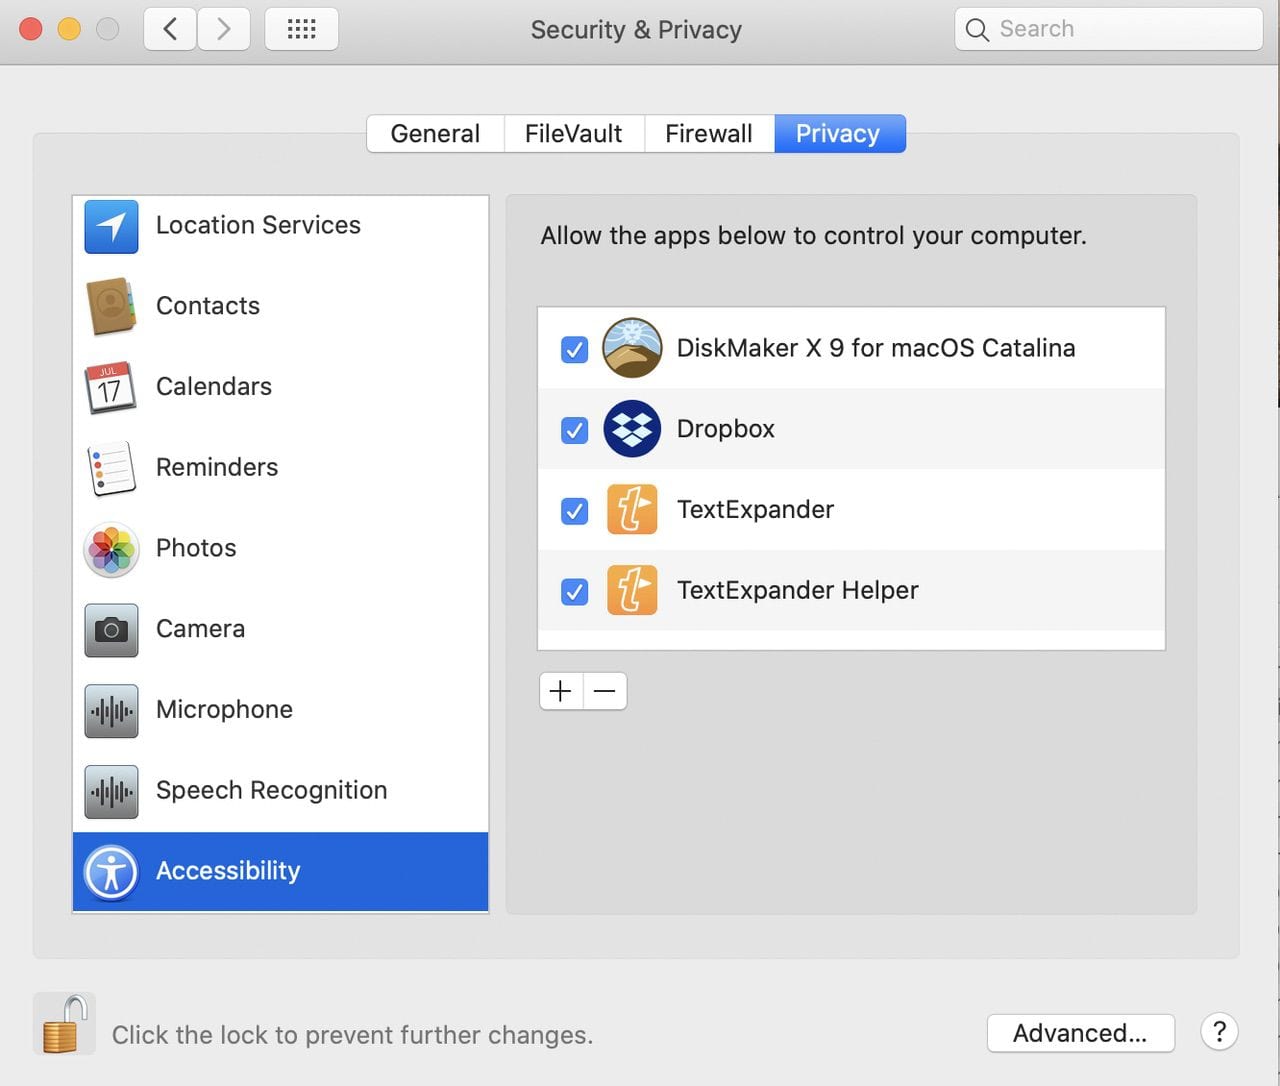
- Click the Privacy tab
- Click Accessibility
- Unlock the preference by clicking the lock icon in the lower-left corner of the System Preferences window, then enter your password or use Touch ID to continue
- Drag the DiskMaker X 9 icon from the Finder to the right part of the window, or click the + button and select the DiskMaker X app in the Applications folder. DiskMaker X is added to the list of apps that can control your Mac (see screenshot below).
Be sure to remove this authorization once you’re done using DiskMaker X to create your bootable drive.
Note that there are other alerts that still appear when using DiskMaker X even though you have authorized this setting. Click OK when the alerts appear.
Launch DiskMaker X 9
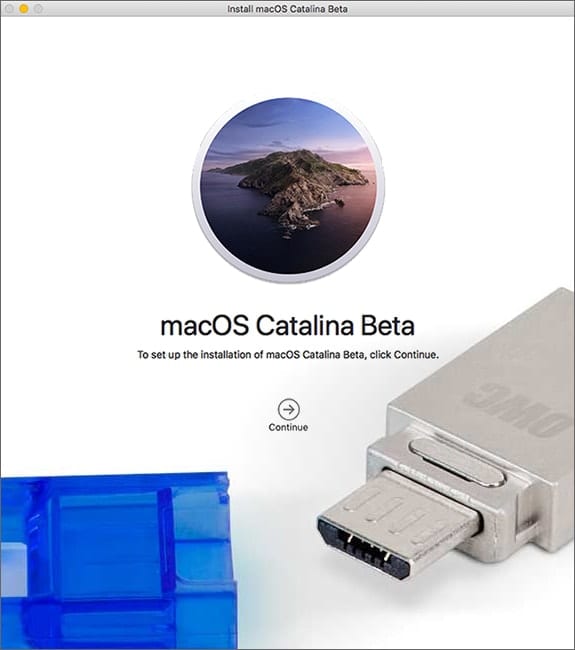
Now we’re ready to make our bootable disk. Attach the drive to the Mac, make sure that the drive is visible from the Finder (in some cases a drive icon may appear on the Desktop), then launch DiskMaker X 9. If you’ve kept older macOS installers in your Applications folder, DiskMaker X asks which version of the operating system you want to use to make a boot disk. Select the version — in this case, macOS Catalina (10.15) — and then the following dialog appears:
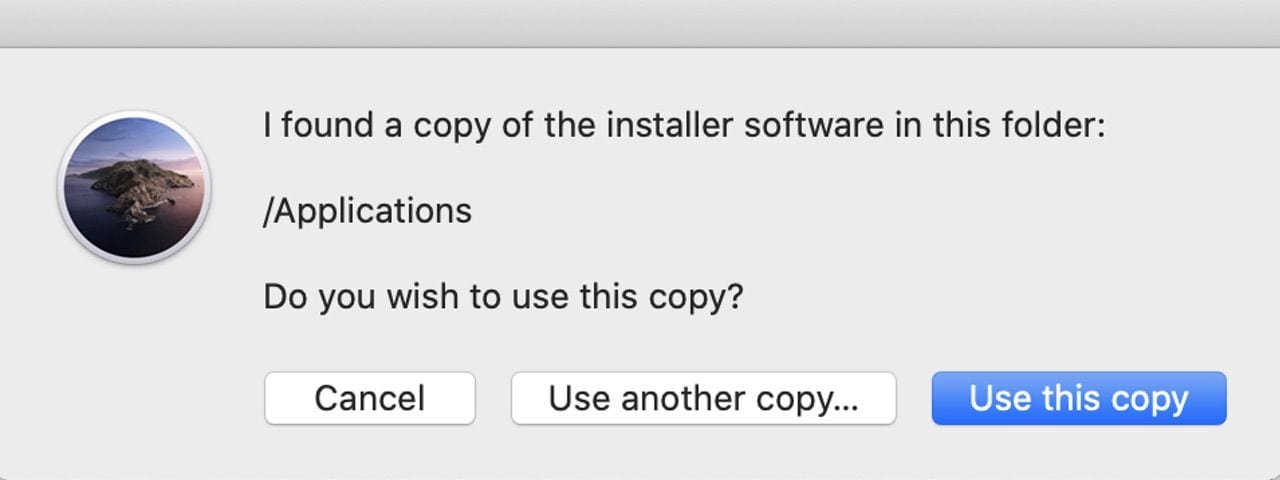
To continue with the copy of the macOS installer that was found in /Applications, click “Use this copy”. If the installer is elsewhere, click “Use another copy…” to locate the installer file. Continuing, DiskMaker X 9 asks for the type of disk you’re using. In this example, I am using an OWC Mercury Elite Pro mini drive, so I click “Another kind of disk (erase only partition).”
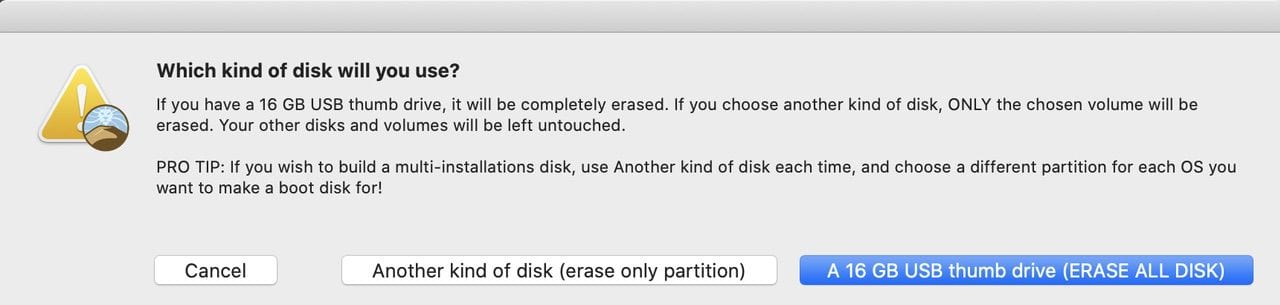
Whatever drive you use will be completely erased. If you want to create a single disk that can install Yosemite, El Capitan, Sierra, High Sierra, Mojave, and Catalina, use Disk Utility (in the Applications/Utilities folder) to partition the drive into six separate volumes, one for each OS version.
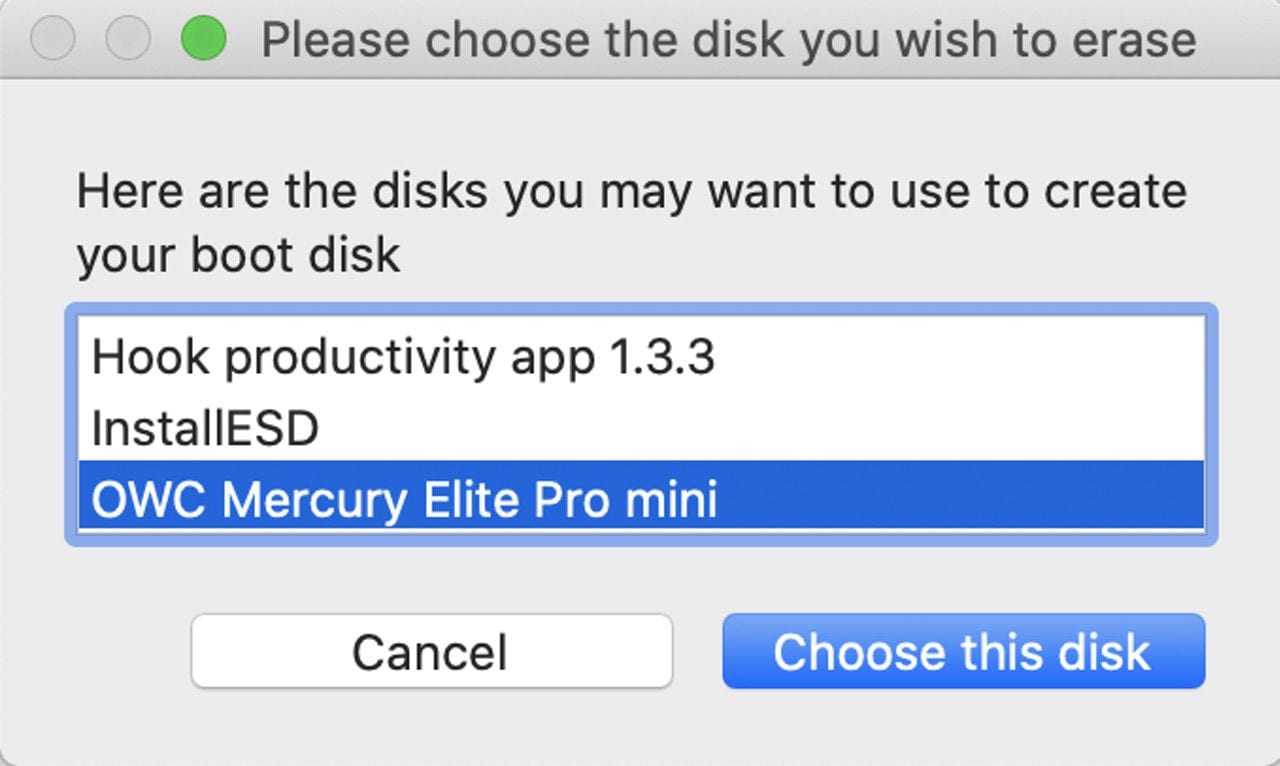
For this example, my drive is named “OWC Mercury Elite Pro mini”, so I click on it to select it, then click “Choose this disk”.
Of course, DiskMaker X doesn’t want you to accidentally erase the wrong disk, so it asks if you really want to “Erase then create the disk”. If everything is the way you wanted, click the highlighted button (see image below).

We are go for launch! Now you will see a few more dialogs, one asking if you are in a light mood or wish to “come to the dark side” — that has to do with the type of disk icon that will be assigned to your boot disk, so make your choice.
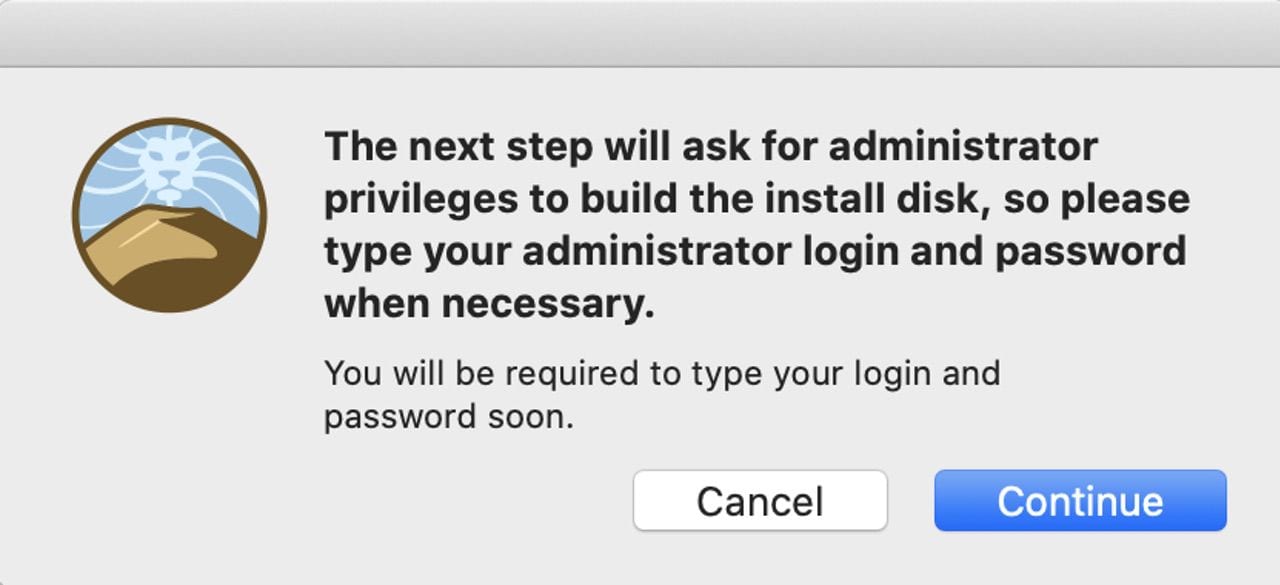
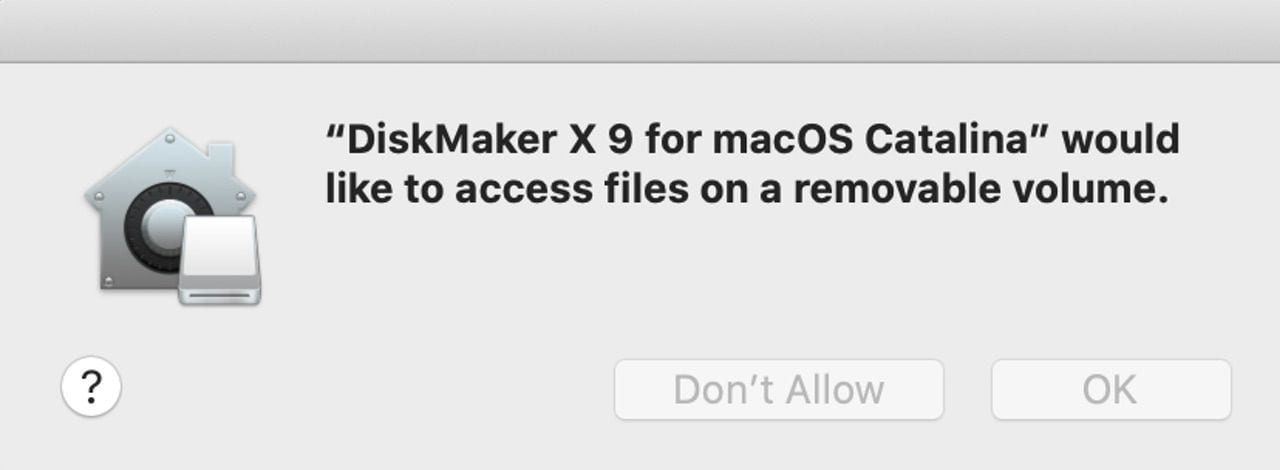
Be aware that DiskMaker X 9 requests your administrator login and password, so be prepared to type (see screenshot above). You are also asked to give permission to DiskMaker X 9 to “access files on a removable volume” (your bootable install disk), so click OK when prompted as seen below.
During the disk creation process, temporary windows open and close, files are copied, and you may be asked if you wish to use your disk as a Time Machine backup drive — if this happens (and it may occur more than once) click “Don’t use”. You can do that later if you want to use the same bootable install disk as a Time Machine backup drive. If you’re running a virus protection app, it may ask if you wish to scan the disk; be sure to tell it to leave your disk alone!
You’ll know that DiskMaker X 9 is done when you hear a lion roar, and a dialog is displayed to inform you of the completion. At that point, you can reboot your Mac while holding down the Option (Alt) key to select a boot drive, or use System Preferences > Startup Disk to set the drive you just created as the boot drive.
If you like DiskMaker X 9, consider making a donation by clicking on the appropriate button.
Many thanks to Guillaume Gète and the rest of the DiskMaker X team.


hello, I downloaded DiskMaker X 9 and tried to run it from Catalina – and, funny enough, it’s not working on any of the Install MacOSX Applications: Lion – Mountain Lion – Mavericks – Yosemite… I also tried to download DiskMaker X 8 – and the links are all reporting technical difficulties… I would love to get my hands on a working copy of either DMX8 or DMX9 or DMX? The article paints such an amazing picture of the process and the graphic of Mojave sand dune and blue Lion face is super cool… It would mean a lot to me if I cloud create a USB Installer with the RecoveryHD install feature as well. Any help would be much appreciated. I would be more than happy to make a donation if I could just get these legacy install formats fully working. Thx so much, Happy Labor Day!
fails with error “An error occurred error -1728 Finder got an error: Can’t get disk “Install macOS Catalina”
If you download Catalina from Mac App Store will it put another HD Data on your computer? Then you would have to go clean and reinstall everything.
Can’t find the Catalina installer. I have already upgraded to Catalina, and DO NOT want to go thru the download again. Suggestions?
Why all these steps when it can be done in a simpler way? Just download the macOS Catalina Installer and install in the desired disk. That is all.
Thanks Steve, nice well written article. But I’m left with a big question. If you have complete bootable clone of your drive on which everything is working, why would you need a separate install drive? Couldn’t you just do a clean install using the Catalina installer on the main drive?
Hi, John –
There’s one case in particular where a bootable external install drive is very helpful. If you have recently done an internal drive replacement on a Mac with a “bare metal” HDD or SSD, the recovery boot partition isn’t available. You’d need that external drive in order to boot the machine, target the new drive on the Mac, and then install the clean copy of Catalina. That’s most useful on devices on which the HDD or SSD can be user-replaced; something that’s not the case with most new Macs. Also, there’s no guarantee that a drive/motherboard replacement on a new Mac is going to come with a bootable copy of Catalina. When I had my “watery accident” with my MacBook Pro recently, Apple replaced most of the internal components and put a copy of Catalina on the drive. What I found after going through the Startup Assistant was that my admin password wasn’t being read properly so I couldn’t get back into the OS. I tried resetting the password through several means (Terminal and iCloud) and neither worked. What DID work was the brute force method of booting my Mac from the DiskMaker X 9 install disk, completely wiping the internal SSD, and then reloading the OS.
Steve
Steve,
Is there a reason, other than cost, why you prefer DiskMaker X to Carbon Copy?
I have been using DiskMaker X since the first, Lion, version. The system specific upgrades have almost always been flawless. While Unix diehards may prefer to use Terminal to crate their install disks, for the rest of us DiskMaker X is the only way to go. Thanks for spreading the word.
This looks good. I’ve found the application called “Super Duper” to be really easy to use also and it’s free. I’ve used it for many years.
https://www.shirt-pocket.com/SuperDuper/SuperDuperDescription.html
I connected a spare drive to my Mac and ran Super Duper to clone my Mojave OS to the new drive. Super Duper tells you what its doing and formats the new drive and faithfully copies over the OS.
You can then update the new Mojave clone to Catalina and use the Boot Drive preference to select either Mojave or Catalina while you transfer your apps and get used to the new OS.
its not free