

In the first installment of this series, we introduced you to Open Broadcaster Software (OBS) and provided reasons why you might want to use this powerful and free Mac application for video streaming and recording. Today, we’ll show you how to download, install, and do an initial configuration of the app.
Download and Install OBS
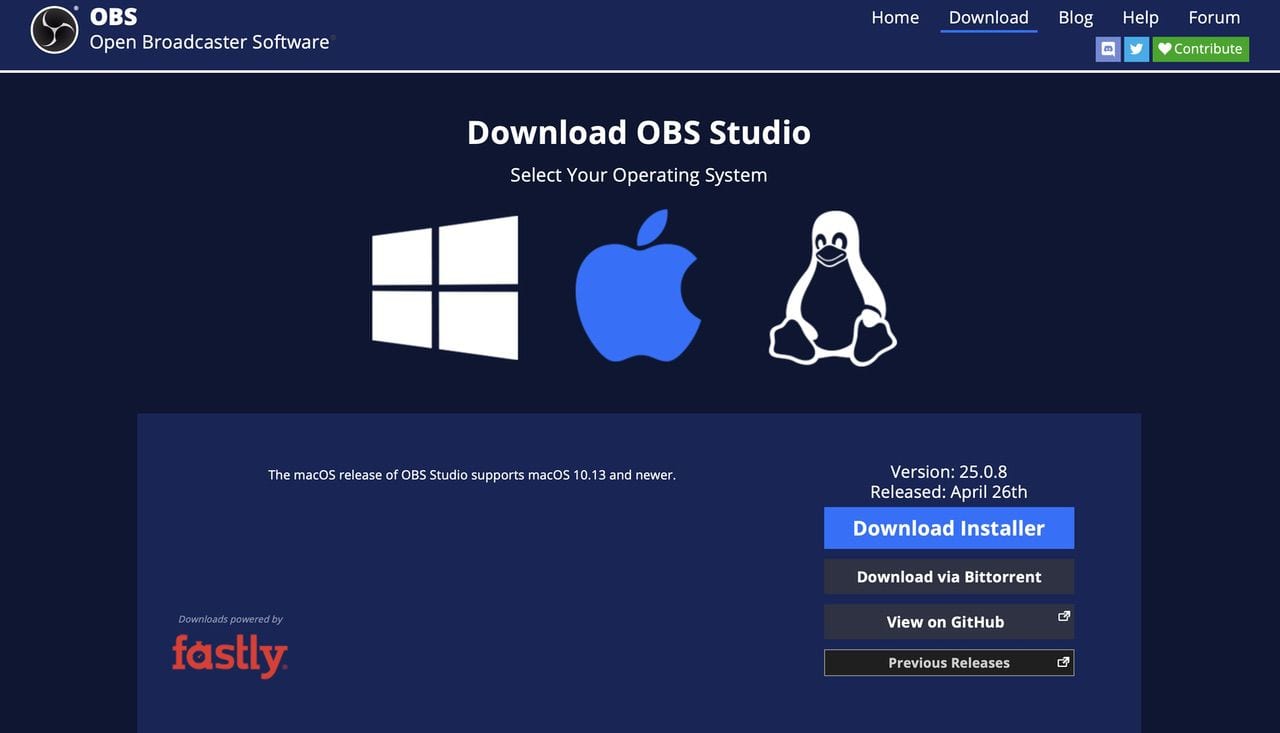
To start with, you’ll need to download the OBS app. Unless you’re planning to tweak the app with your own code and compile it, we recommend downloading the pre-compiled installer from Download | OBS. Be sure to click the big Apple logo in the middle (see image below) so you don’t accidentally download the Windows or Linux versions of the app.
Once the file download is complete, double-click the obs-mac-25.0.8.dmg file (the number may vary depending on the current release). That opens the OBS installer:
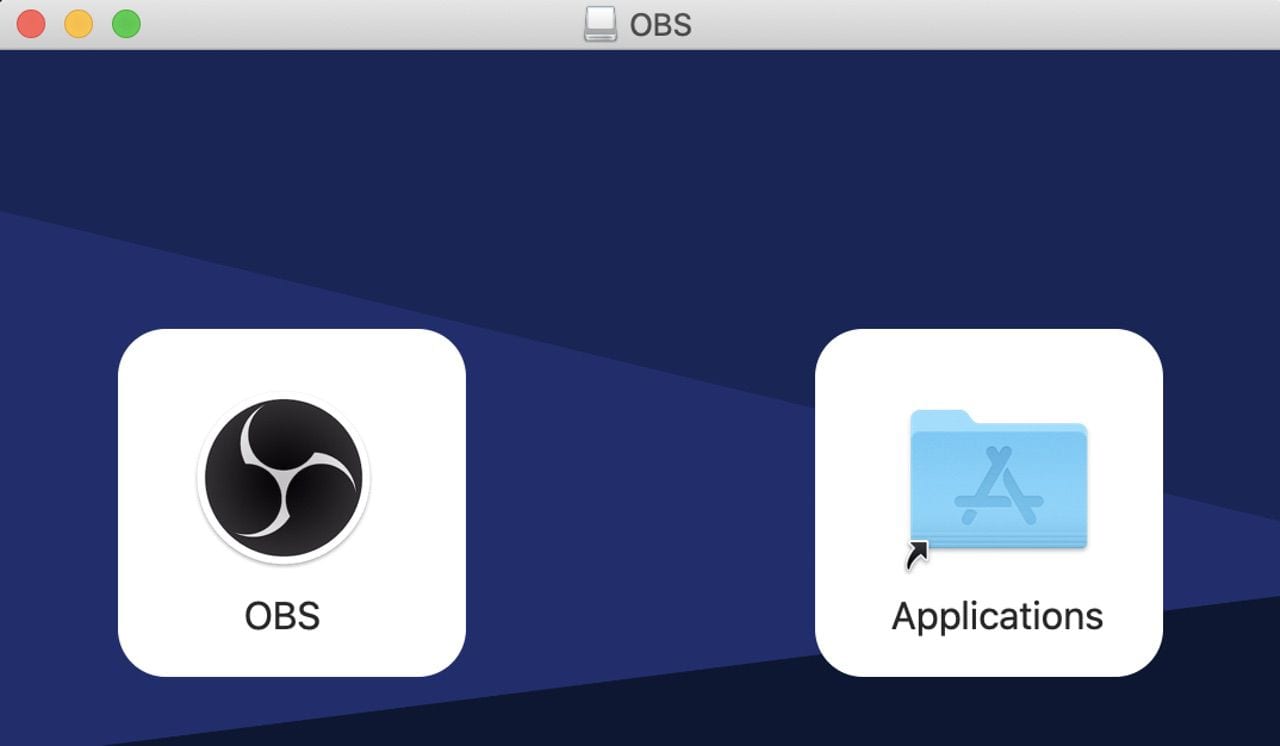
Drag the OBS icon on the left to the Applications folder icon on the right, and the app is installed into the Applications folder of your Mac. At this point, you can eject the OBS disk image icon by dragging it to Trash or right-clicking it and selecting Eject “OBS”.
Configuring the OBS App
So far, so good. The first time you launch the OBS app, you’ll see a dialog similar to this:
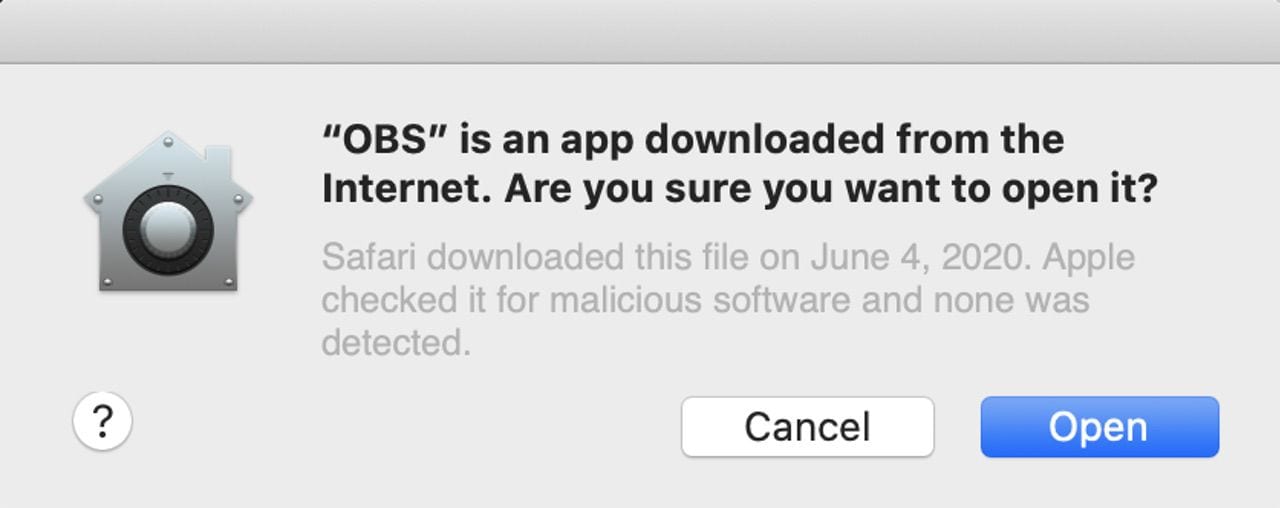
Click Open to continue launching the app. Next, OBS displays a dialog requesting access to “receive keystrokes from any application”. Click the Open System Preferences button, then click the Lock icon and enter your password.
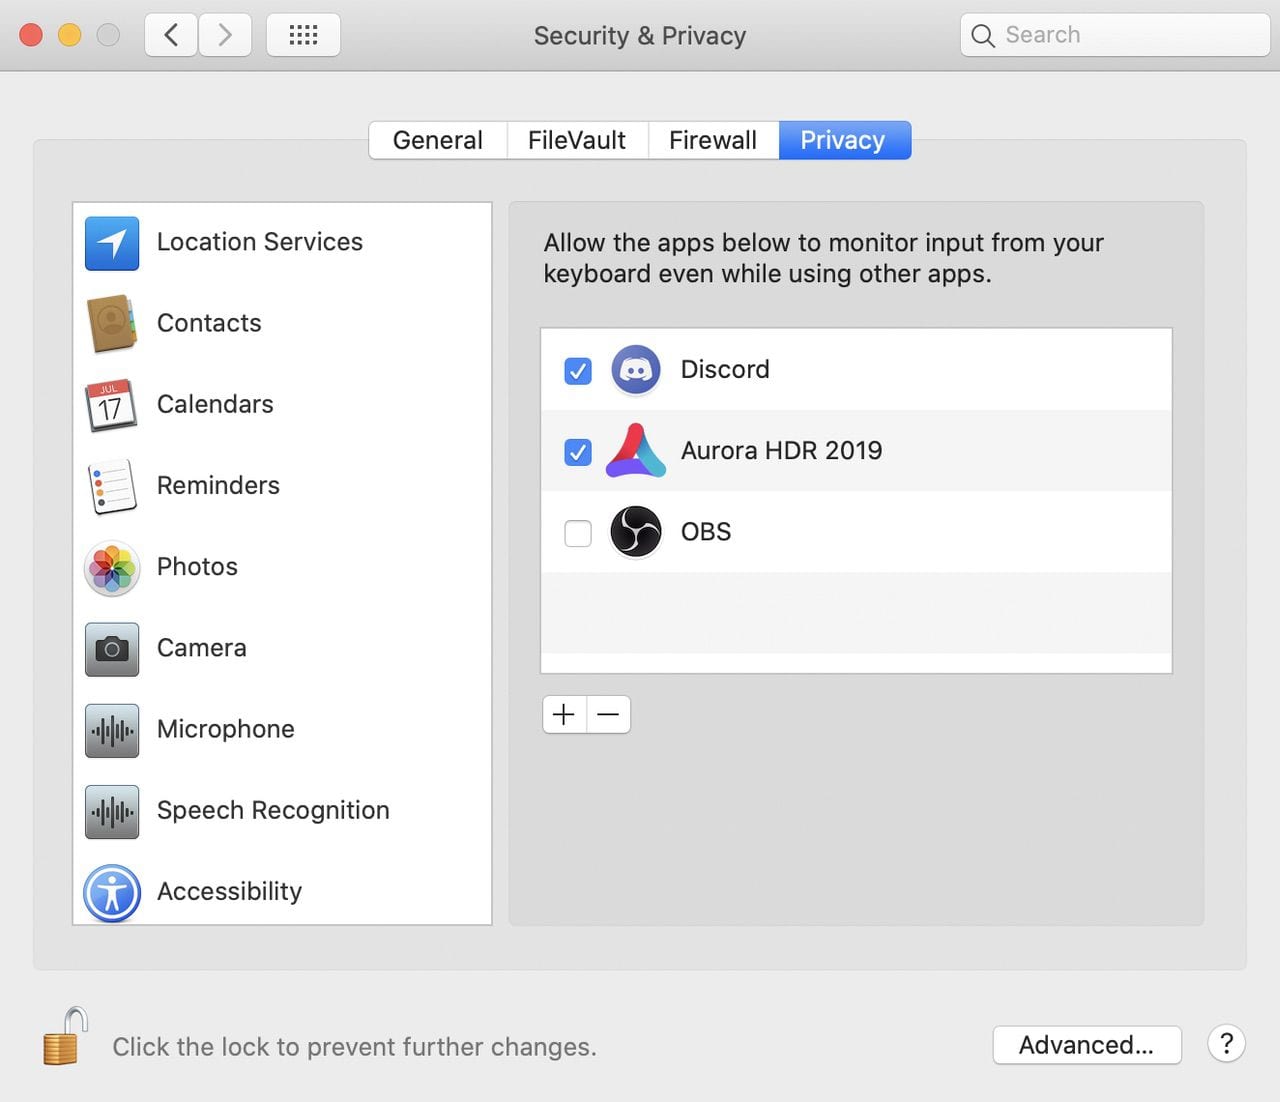
Check the box next to OBS. You’ll be asked to quit OBS now or later, and since we need to make some other changes, I’d suggest clicking the Later button. Close out of System Preferences.
Another dialog asks for permission to access the microphone on your Mac to enable audio input. Click OK.
Finally, you’ll see another dialog over the OBS window, asking if you would like to run the auto-configuration wizard.
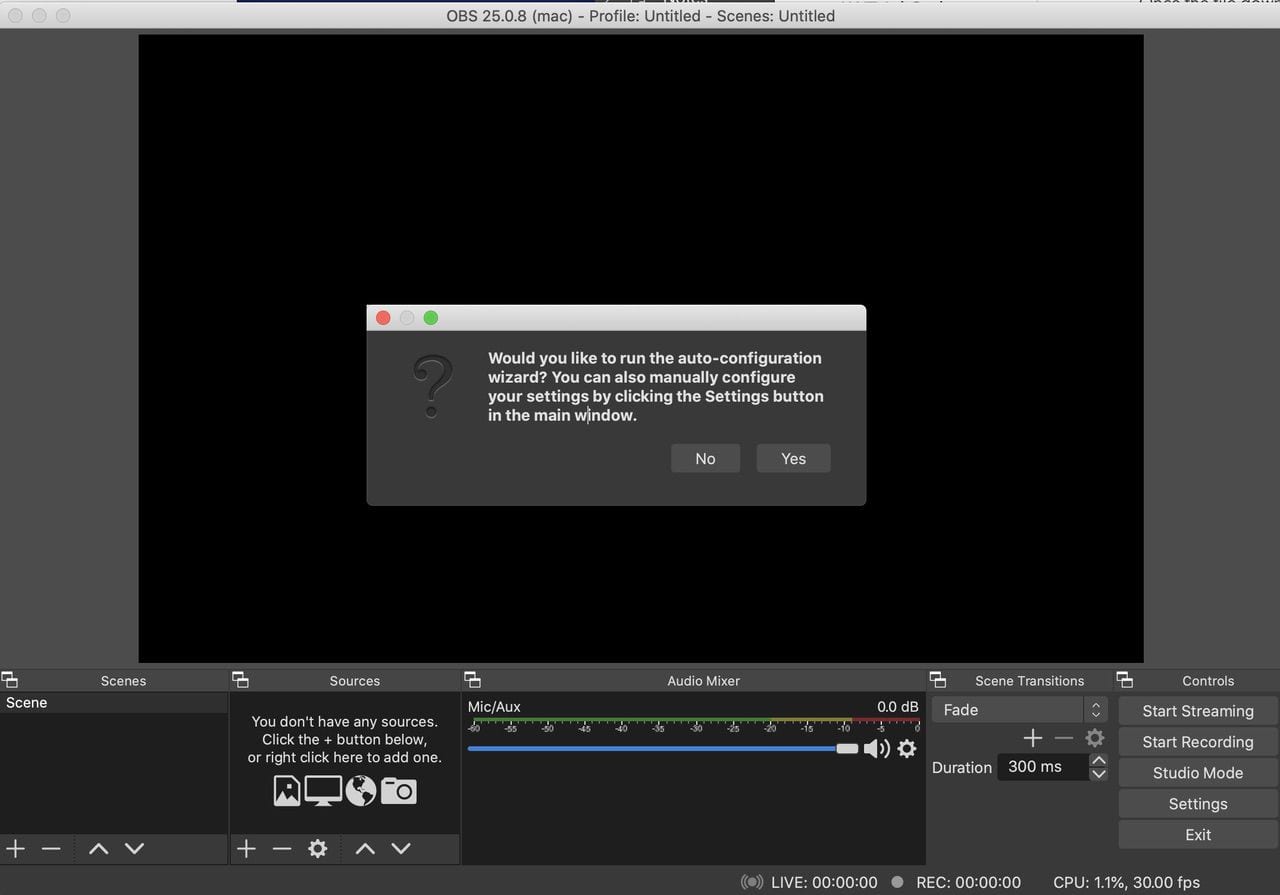
Since you can change settings later as you add more sources to your new video studio, go ahead and click Yes.
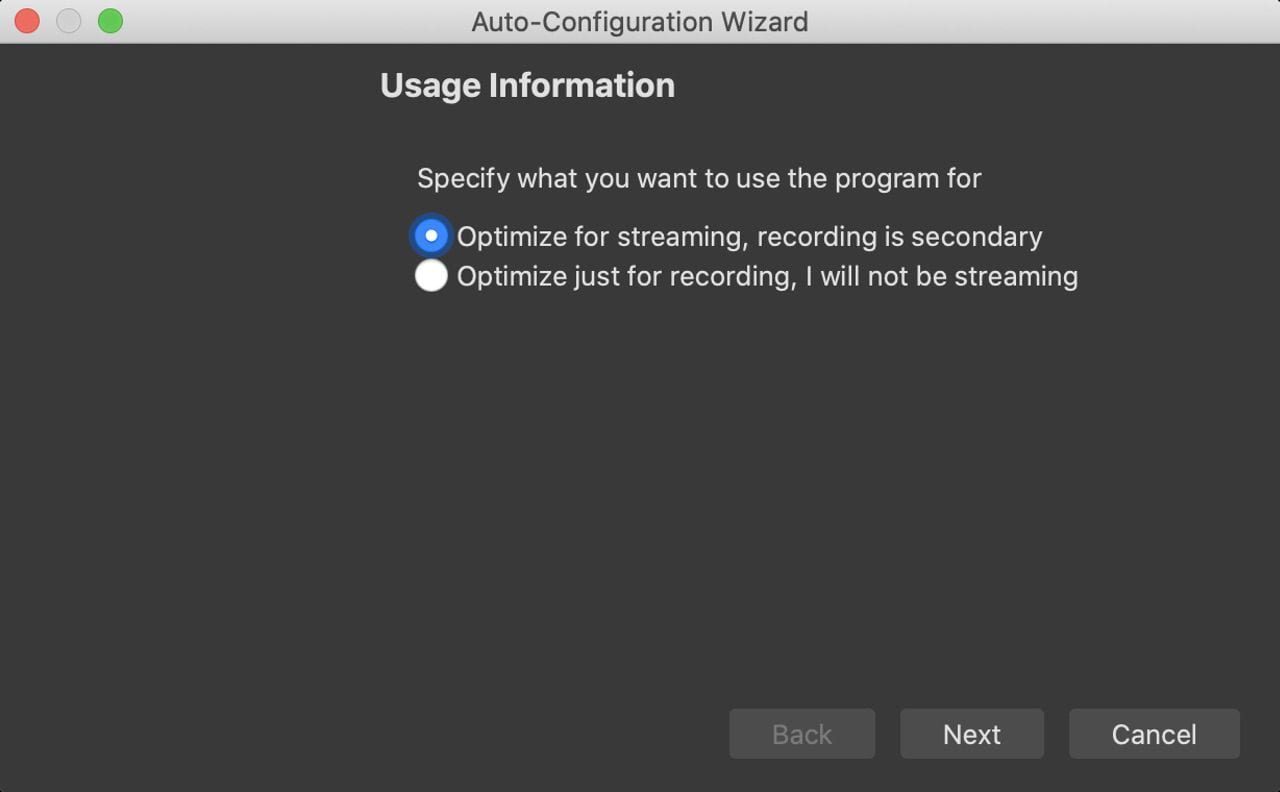
First, Mac’s Notification Center will ask if you wish to Allow notifications from the app. Click Allow. Next, you’ll be asked whether you wish to optimize the app for streaming or recording video. If you’ll be using it more for streaming than recording, click the “Optimize for streaming, recording is secondary” button. For those who are just going to record video, the “Optimize just for recording, I will not be streaming” button is more appropriate. Once you’ve clicked the correct button, click Next.
Now you’re asked to specify the desired video settings you would like to use. As noted, the canvas resolution isn’t the resolution you’ll stream or record at. OBS suggested a 1792 x 1120 canvas size for my 16-inch MacBook Pro, but I bumped that up to 1920 x 1080 resolution (1080p).
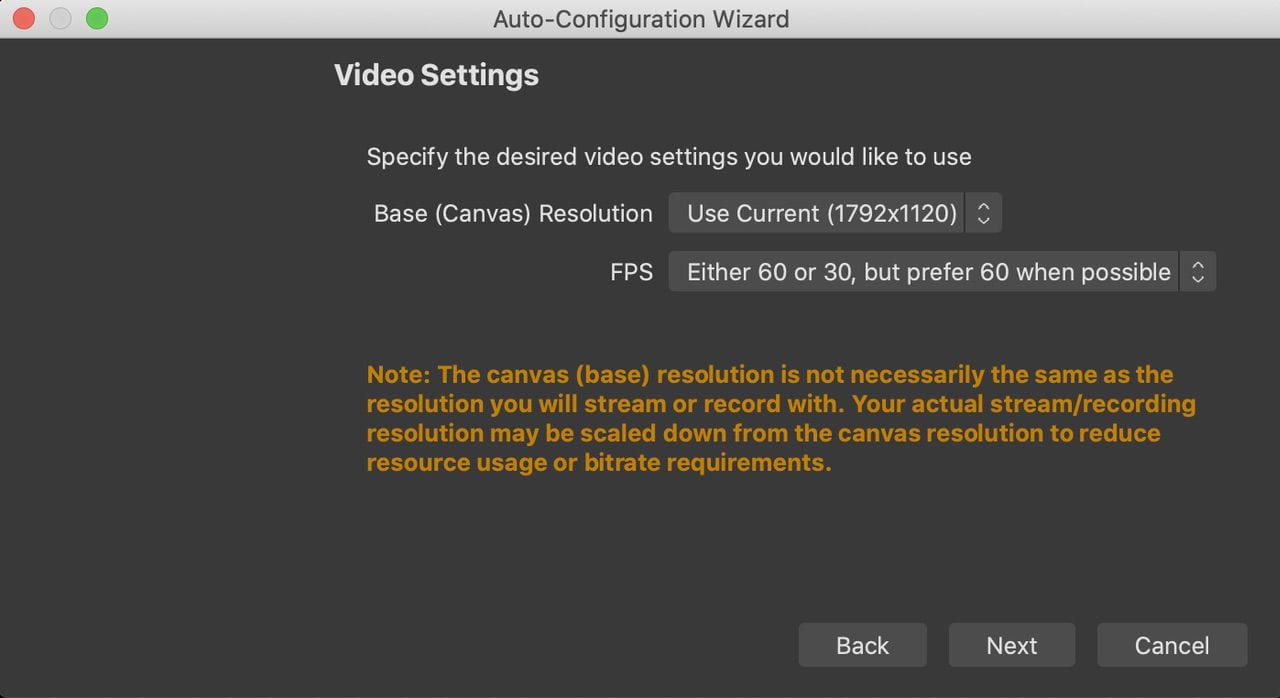
OBS also asks for a default frames per second (fps) setting. I selected “Either 60 or 30, but prefer 60 when possible.” For those with older underpowered Macs, an fps setting of 30 might be more realistic.
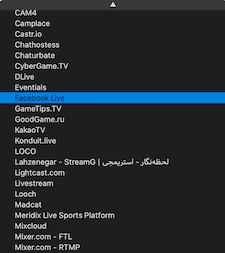
Now we get into the fun part — setting up the stream if you selected “Optimize for streaming” earlier. Want to see just how many streams OBS supports? Select “Show all” from the Service pop-up menu and you’ll see something similar to what you see at right.
For the purposes of this example, I’m selecting Facebook Live, but the stream setup for other services is similar. We need to enter a Stream Key, which is basically the “code” that ties your OBS stream to Facebook Live and allows your stream to take place. To get a stream key, click the Get Stream Key button and in this case, you’ll be sent to Facebook Live.
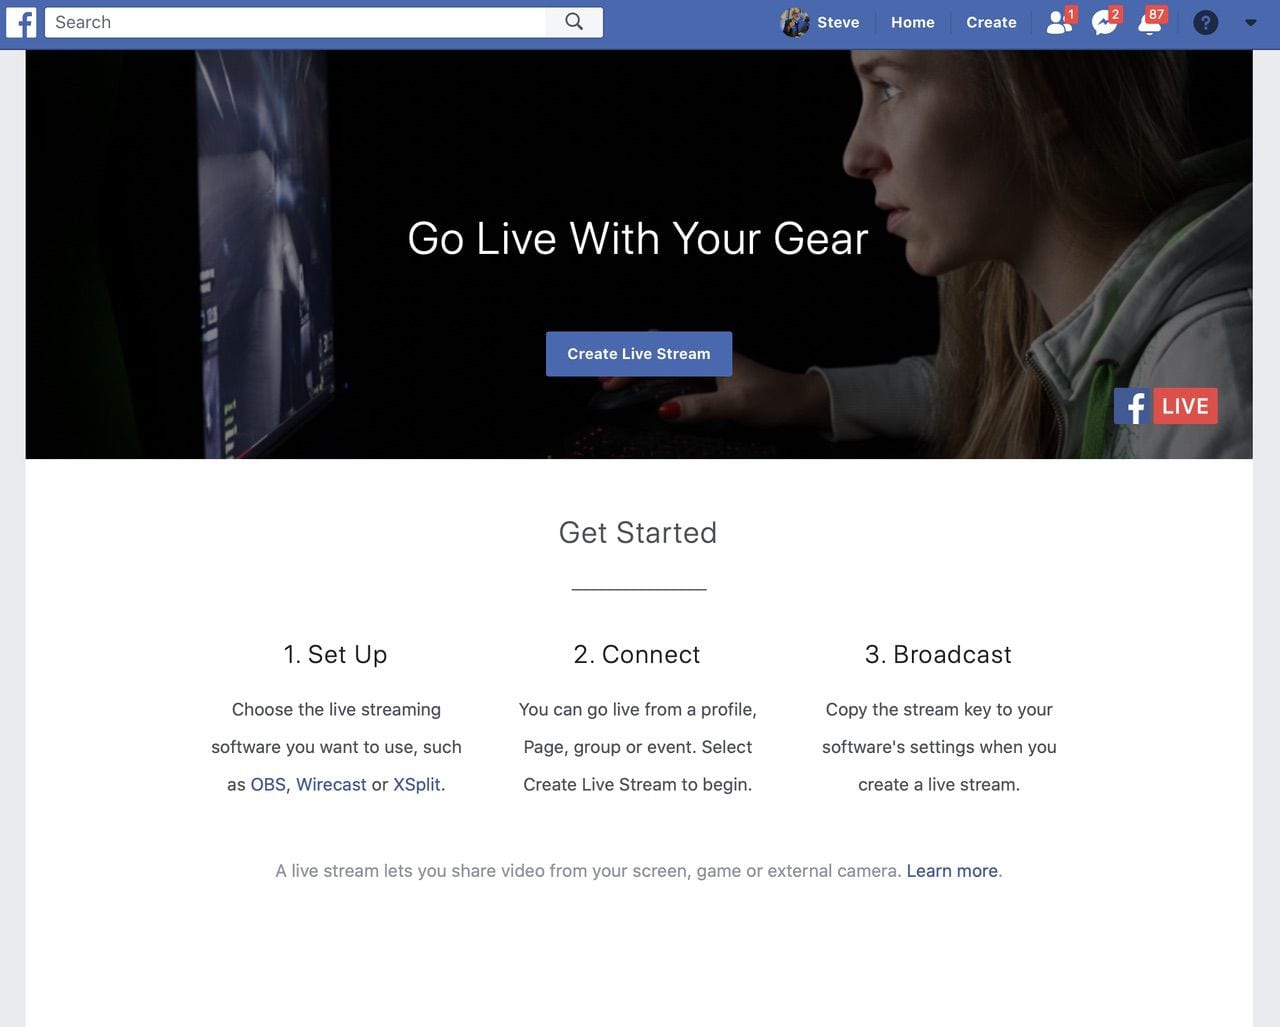
On this page, click the Create Live Stream button, which takes you to the Facebook Live Producer page. You’re asked if you wish to use a Stream Key, use a camera built into your phone, tablet or computer, or use a paired encoder. For OBS, click Use Stream Key. Once that’s done, a small dialog explains that you can use the Live Producer to see how your live video is performing, moderate comments, and create highlights of your stream. Click Done.
On the left side of the Facebook Live Producer page is a sidebar with buttons that let you go live immediately or schedule a live video. You can also choose your own user profile or a page or group you manage as the recipient of the stream.

Since we are using OBS to create the slick-looking video stream, Facebook Live Producer also displays the server URL (what OBS connects to) and the unique stream key. Should you decide that you want to do livestreams on a regular basis on Facebook, check the “Use a Persistent Stream Key” box so that the same stream key can be used every time you go live.
Copy the stream key, then head back to OBS and paste it into the Stream Key field on the Auto-Configuration Wizard. Make sure the “Estimate bitrate with bandwidth test” checkbox is checked, then click Next.
At this point, the bandwidth test streams randomized video data and no audio to your channel. After a minute or so, testing is completed and you’ll see results similar to this:

In this case, OBS found that the resolution and frames per second that were selected were optimum, so clicking the Apply Settings button saves those settings into the app.
What’s Next?
We’ve set up our streaming and tested the connection, but we need to set up scenes and sources before we can impress the world with our livestream. We’ll cover these important topics in the next chapter of this OBS series.
Related:
• Video Production with OBS: What It Is and Why You Should Use It
• OBS Chapter 2: Installing and Configuring the App
• OBS Chapter 3: Sources and Scenes
• OBS Chapter 4: Recordings and Streams
• OBS Chapter 5: Hotkeys, More Sources, and Resources
• OBS Chapter 6: Open Broadcaster Software Limitations and Alternatives


