


Every now and then, I find it necessary to grab an image from a Pages or Word document. You might be lead to think that the process is similar for both applications, but they are not. In fact, this is one of the few cases where it’s in some ways easier to do with Microsoft’s product than Apple’s. Why? I have no idea. But with Word, it is stupid-easy. With Pages, it’s just plain stupid.
Okay, that wording was a little on the extreme side, but it had a nice artistic flow that I couldn’t resist! The reality is that the process for exporting images from Pages isn’t obvious – it just doesn’t make a lot of sense to the average user. Hence this post.
So, let’s start with Word…
Microsoft Word
With Microsoft Word, extracting and saving an embedded picture takes several steps, but at least it is intuitive.
To export an image from Word:
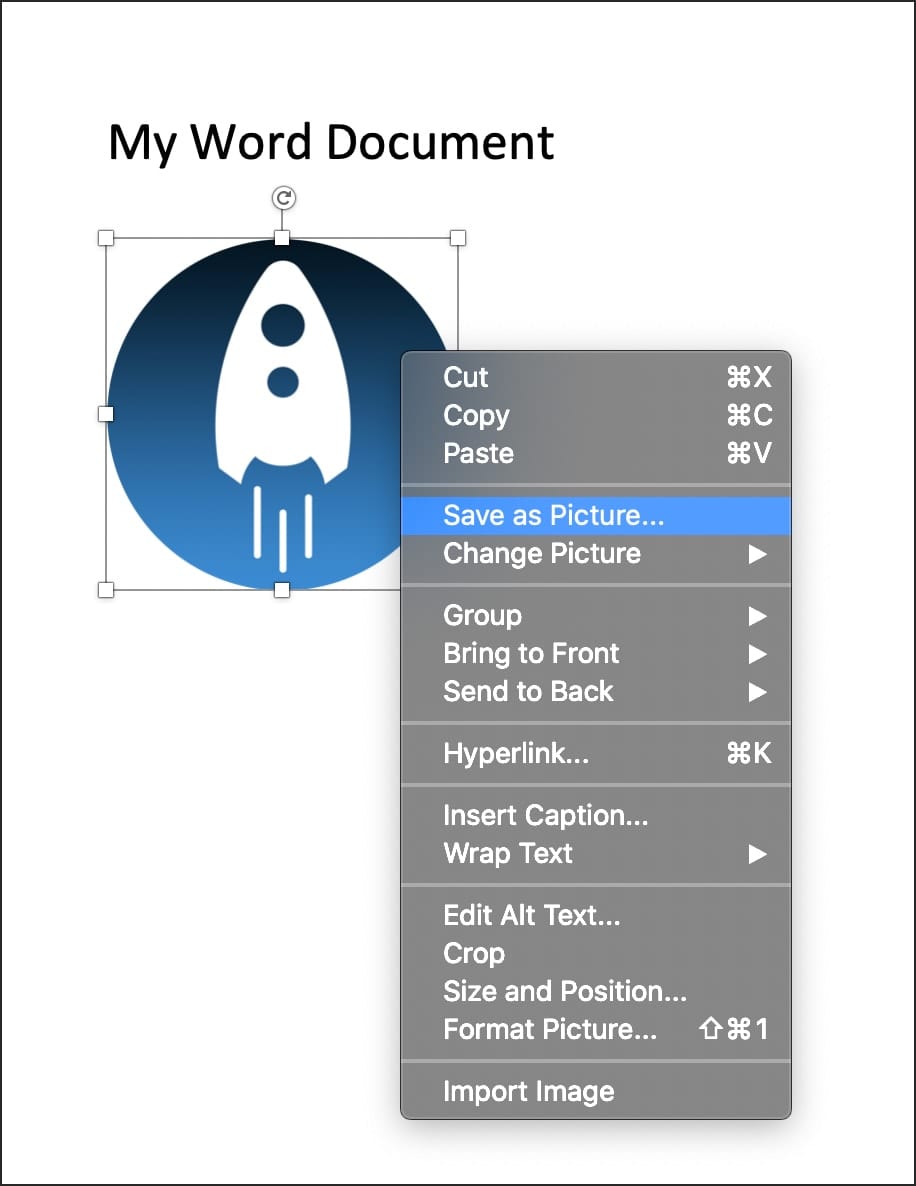
- Right-click on the image.
- Choose “Save as Picture…”
- Choose where you want to save it, and name the file. The default name will be “Picture1.png” and not the name of the original image.
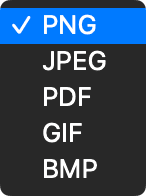
- Select the type of image file you want to save it as from the “Save as Type” dropdown in the bottom left of the window. The options are PNG, JPEG, PDF, GIF, & BMP.
- Click “Save” and you’re done!
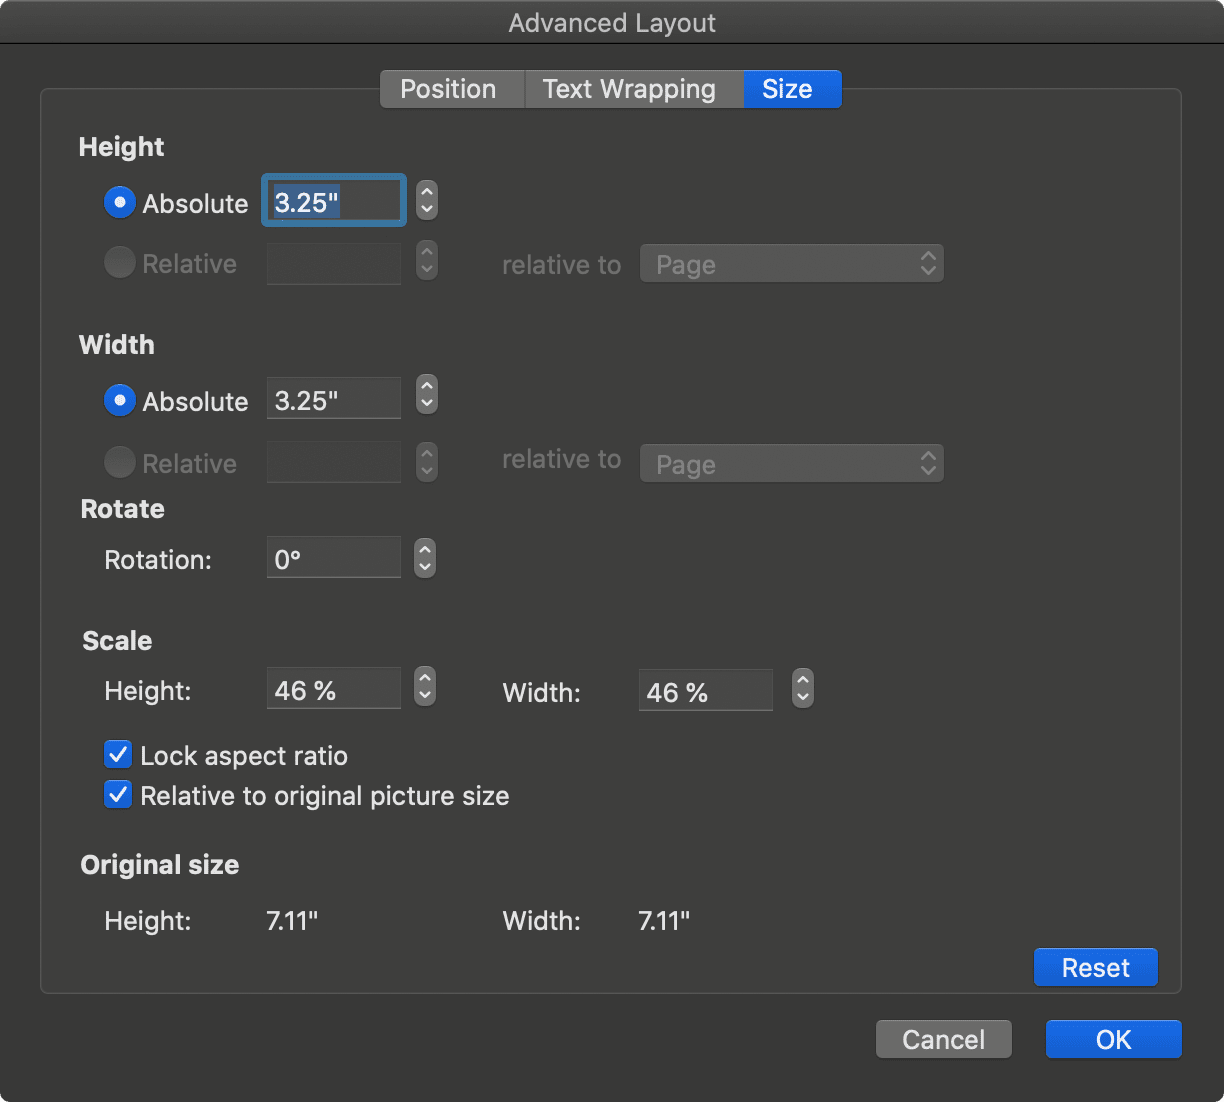
One thing to note is that the image will be saved with the size (dimensions) as it appears in the document itself. Often, images are shrunk to fit particular formatting needs. If you want to save a full-sized version, you’ll have to change it before following the exporting instructions above.
To revert an image in Word to its original size:
- Right-click on the image.
- Choose “Size and Position…”
- Click “Reset” in the bottom right corner.
- Click “Okay.”
This is likely to throw the formatting all out of whack, but after saving the image, you can merely “Edit > Undo Resize/Move Object” or hit ⌘Z.
Mac Pages
There are two main ways to extract images from a Pages document. The first allows you to access all the images at once. It isn’t tricky – it’s just not intuitive.
To export all of the images:
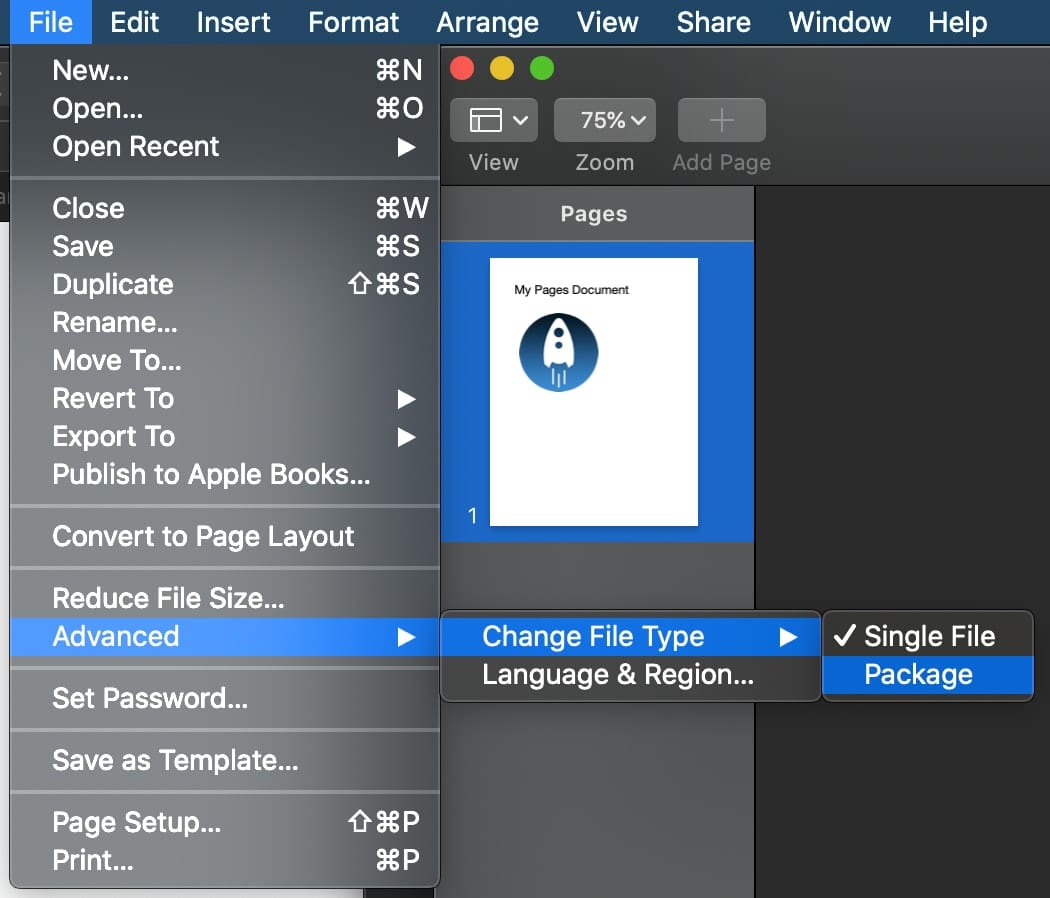
- Choose “File > Advanced > Change File Type > Package.”
- Open a Finder window and navigate to where the file is saved.
- Right-click on the file name and choose “Show Package Contents.”
- Select the Data folder.
Inside the Data folder, you will see all of the document’s images and corresponding smaller thumbnails.

Now you can copy (don’t move) the images wherever you’d like. If you move them from the file’s “package,” Pages will not be happy.
Note: I told you the process was going to be odd.
If you are only interested in saving one image from the document or prefer to do them one at a time, it takes a few more steps. And again, it’s not exactly intuitive – you need to use Preview to make it work.
To save a single image:
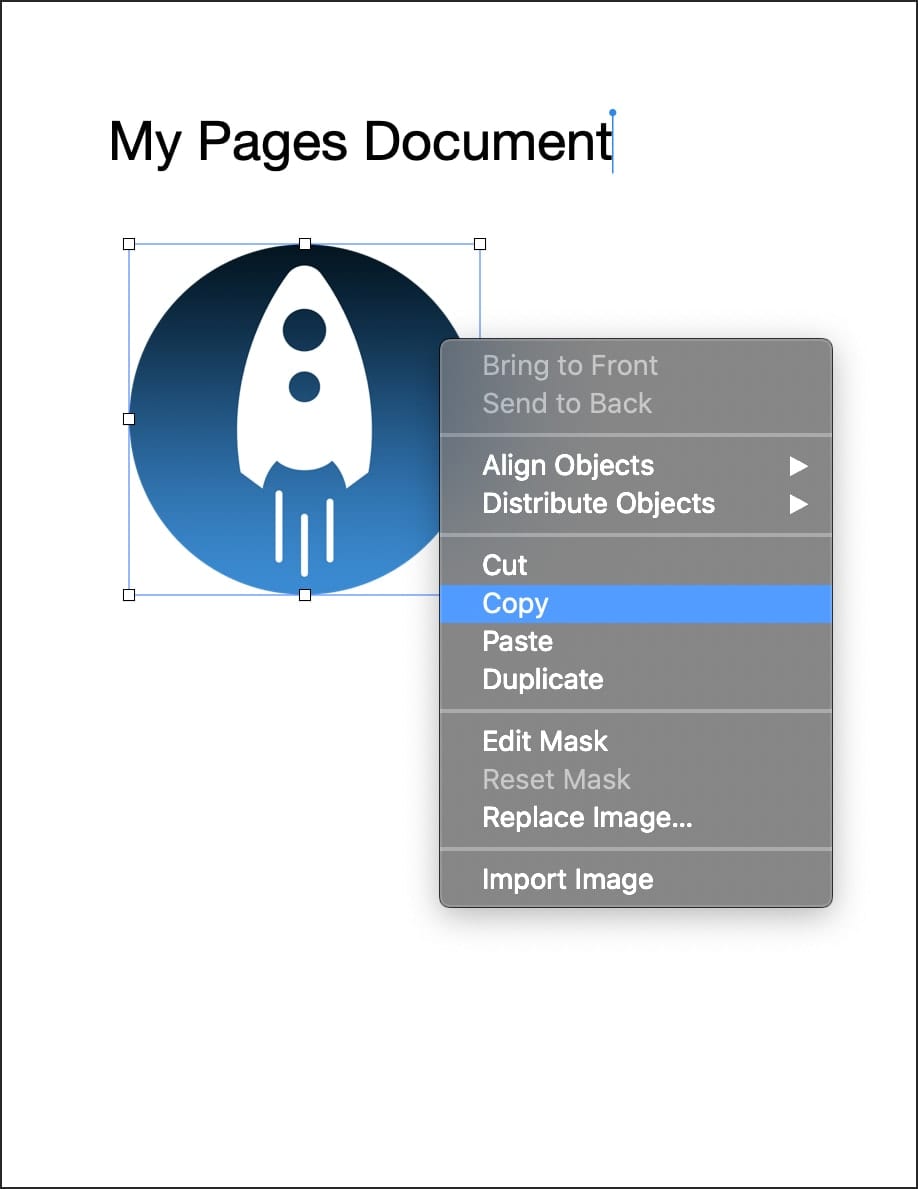
- Select the image, picture, or photo in your Pages doc.
- Choose “Edit > Copy” or ⌘C.
- Open the Preview app in your Applications folder.
- Select “File > New from Clipboard” or hit ⌘N.
- Select “File > Export…”
- Choose where you want to save the file, and give it a name.
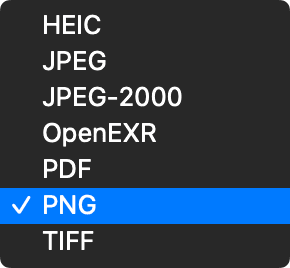
- From the “Format” dropdown menu, select the type of image file you want it saved as. The options are HEIC, JPEG, JPEG-2000, OpenEXR, PDF, & TIFF.
- Click “Save.”
Just as in Microsoft Word, you’ll notice that the image will be the size/resolution of how it appears in the document. If you want the original size, you will need to revert it before following the instructions above.
To revert an image in Pages to its original size:
- Select the image.
- Choose the Format tab (with the paintbrush icon) at the top right.
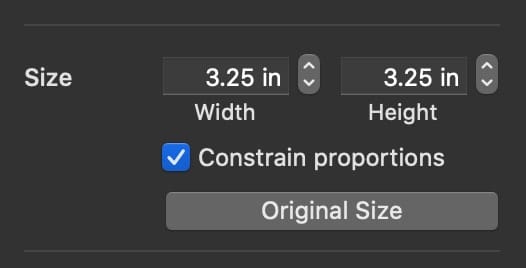
- Select the Arrange tab and under “Size,” click the “Original Size” button.
Perhaps not many people need to save images from a Word or Pages file, which is why neither Apple nor Microsoft has made it easier (or more intuitive) to export single (or multiple) images. But if you are one of those people, I hope this has helped!


In mac, Just copy (cmd+c) the image from your doc, open preview app, then file > new from clipboard (cmd + n) and hit copy paste (cmd+v )… and save your image!
Worked like a charm.
Monterey 12.2| Pages 11.2
This was NOT helpful–I need to extract a photo from a docx on a Mac
Can you be a bit more specific as to how it’s not working for you?
Just save the docx as a page file then follow the instructions. Worked for me.
Second option won’t work for me, the File > New from Clipboard — this part won’t highlight so I cannot select it. Does the page have to be downloaded to my files to make this option work?
What version of macOS and Pages are you running?
Thank you! This was so helpful. My Dad, now passed, had an annoying practice of only sharing photos by first embedding them in Word docs… and I have a Mac with Pages, not Word. A Google search brought me to this tips page and it was exactly the info I needed. I have a lot of work to do but at least now I know how!
I am very glad this was helpful!
Thank you! This is great information – and you’re right! Why is the pages way, so dumb???
There is a way to access images in a Word “package”, too. Word docs are simply compressed folders. Just change the extension from .docx to .zip and extract. Inside the extracted folder you’ll see the original image(s) in the word->media folder.
Good addition, Tim. This method is also possible with a .pages file – and always recommended to do on a copy rather than the original!
Or extract contents using applications like File Juicer:
https://echoone.com/filejuicer
Very useful!