

“I just wait a couple of seconds before unplugging a drive…”
“I never safely eject a disk, and I’ve never had a problem…”
“I waited for the light to go off before I pulled the plug, and everything looks fine…”
There’s a lot of different ideas about disconnecting disks, and different ideas about why (and if) it’s necessary. In reality, unplugging a drive without telling the OS is always risky.
Why Safely Remove/Safely Eject a Disk?
Most operating systems use a technique called “write caching” to maximize disk performance. Write caching is about adding delays. When an app makes a change to a file, the OS might delay this change for a short time so that it can group multiple changes together. When you “safely eject” a disk, you’re telling the OS to ensure that all these changes are completed and saved to the drive.
If you just unplug a disk without “safely ejecting,” some changes might not make it to the disk. Sometimes this causes obvious problems like missing files or even an unusable drive. Sometimes the issues can be less obvious – your disk might seem fine, but the contents of some of your files could be missing (resulting in an un-editable document, an unplayable video, etc.).
How to Safely Remove Your Disk
Different platforms have different ways to eject a disk safely.
In Windows…
You can safely eject a disk using either of the following methods:
- In the notification area (next to your clock), there is an icon that looks like a USB plug. Click this icon to get a list of drives connected to the computer, then click the drive you want to eject. Note that the icon might be hidden in the “overflow area”–the little up-arrow icon in the notification area.
- In File Explorer, right-click on a drive, then click “Eject.”
In macOS…
You can safely eject a disk using any of the following methods:
- In Finder, drag a volume to the trash can.
- In the left pane of Finder, click the eject symbol next to a disk.
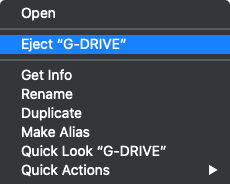
- Right-click on the drive’s icon on the Desktop and select “Eject (volume name)” from the popup menu.

There are also a few utilities available that will safely eject multiple disks in one click—handy if you’re packing up your laptop. And if you’re using an OWC dock, OWC Dock Ejector will safely eject all disks connected through the dock.
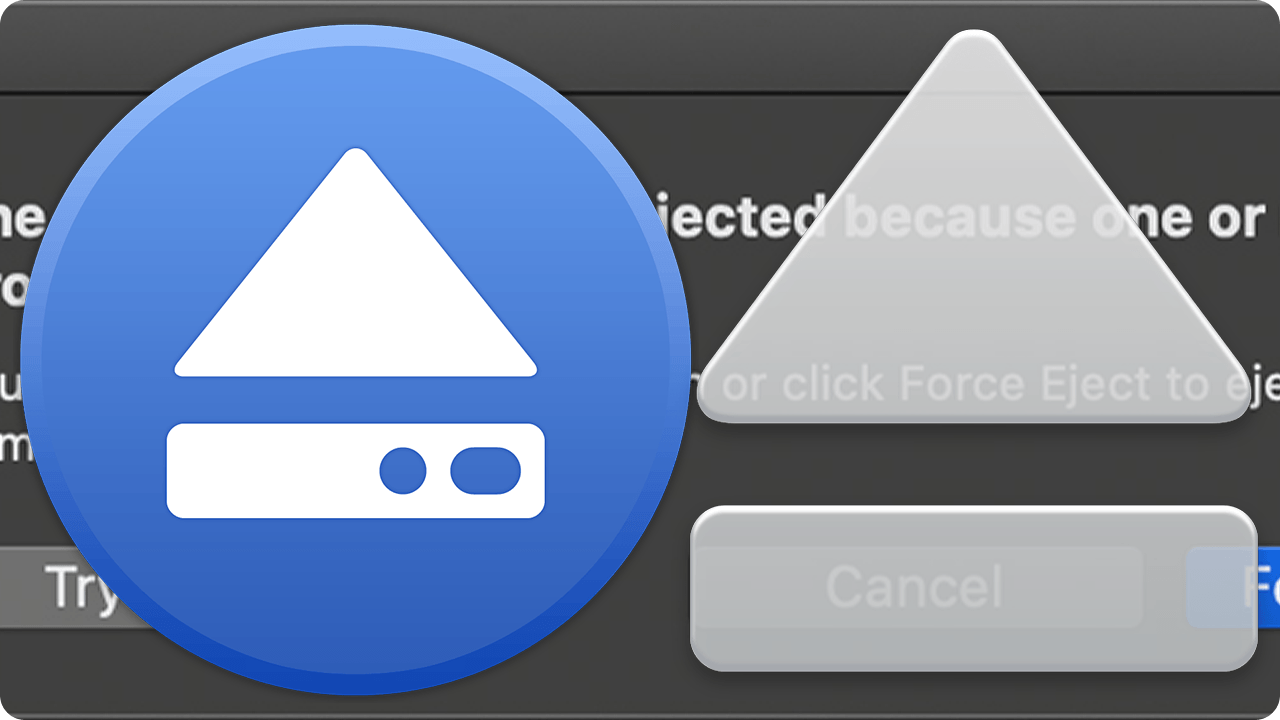
Disk in Use
Sometimes when trying to eject your disk, you will receive an error telling you the “disk is in use.” This means that some app (or the OS itself) is still using the disk. If you know which application it is, you can simply close that app and try again. If you can’t tell which one is using the disk, some 3rd-party apps (such as Unlocker for Windows) can help locate it.
“Quick Removal” OS Settings
Finally, some operating systems have settings that allow you to disable write-caching (resulting in a slower disk) so you can seemingly skip “safe removal.” While this makes your drive somewhat safer, it doesn’t tell you if an app is still using it. Unplugging might still cause data to be lost.
In the end, it’s always best to safely eject your drive. It only takes a moment and helps keep your data safe.


Since I have upgraded my Mac Mini OS to Big Sur, I am getting a did not eject OWC (backup drive) when I sign in after shutting down. Since I leave the drive on all the time, I have never had this issue before. Did Apple change something?
The drive should work as it did prior to the upgrade. We’d recommend contacting our Technical Support to go over some troubleshooting on your drive!
Phone 1-800-275-4576 or +1-815-338-8685
Technical Support – Monday-Friday (8am-6pm CT) – Saturday & Sunday (Closed)
Live Chat Technical Support – Monday-Friday (8am-6pm CT) – Saturday (9am-5pm CT) – Sunday (Closed)
You may also eject multiple disks in the MacOS Finder. Click on the first one ,then shift-click on the following ones, right-click when you select the last one, and select “Eject”.
That’s a great tip, thanks!
Then there is the loose cable connect that won’t stay connected (especially in the iMac) and constantly tells us that the disk was not ejected safely. We were astounded when it listed 186 such disconnections and we weren’t even at the computer while it connected and disconnected itself. Trying to push the plug into the port didn’t help; next we got 132 such messages.
I’m guilty of this, my bad. But please tell how to safely eject three disks, one being an internal in an extra space, and two external ones.
This is meant to be when I want to close the lid of my Macbook Pro to make it shut itself down for the night, kind of like unplugging it.
It is mentioned in the article that it could be used when “packing up” the laptop, but doesn’t tell HOW TO safely shutting down my three disks I have connected to my MacBook Pro when closing the lid.
Very grateful for an answer, please, by email (preferred) or to this comment or both. — Thanks a million!! Ingrid
Hi Ingrid–
If you’re using an OWC dock (https://www.owcdigital.com/products/docks), you can use OWC Dock Ejector (https://www.owcdigital.com/products/dock-ejector) to eject all connected disks with one click. If you’re not using an OWC dock, there are 3rd-party options for ejecting multiple disks at once. We may also have another option coming soon–keep an eye on this blog for more information!
On my Mac I always eject my USB hard drives before unplugging. However I usually see the drive light blinking for sometimes 5 or 10 seconds after the drive icon disappears from the desktop or the finder. I assume the blinking LED on the drive indicates there is still drive activity going on. All the guidance I’ve read simply says wait until the drive icon disappears and then it’s safe. It seems to me that it’s not safe until the light on the drive stops blinking. Can you comment on this?
Hi Larry–
Yes, some drives (especially small USB thumb drives) have their own “activity indicator” light. Unfortunately, there’s really no standard as to how these work–sometimes the light shows that the OS is using the drive, sometimes the light means that the drive hardware is still processing data.
The safest approach is to “safely remove” the drive as described in the article, and then wait for the drive’s light to stop blinking (it shouldn’t take more than a second or two).
On the Windows side, your information for finding that notification icon is not quite correct.
While it’s possible the Safely Remove Hardware and Eject Media icon in the taskbar could be found by the time hack on the taskbar, it’s far more likely that it’ll be parked away under the upward-pointing arrow in the Show hidden icons window.
That’s an excellent point–this has been added to the article. Thanks!